Hey Sew Sister - Woven Labels - Nice Biscuit

£6.00
Out of Stock

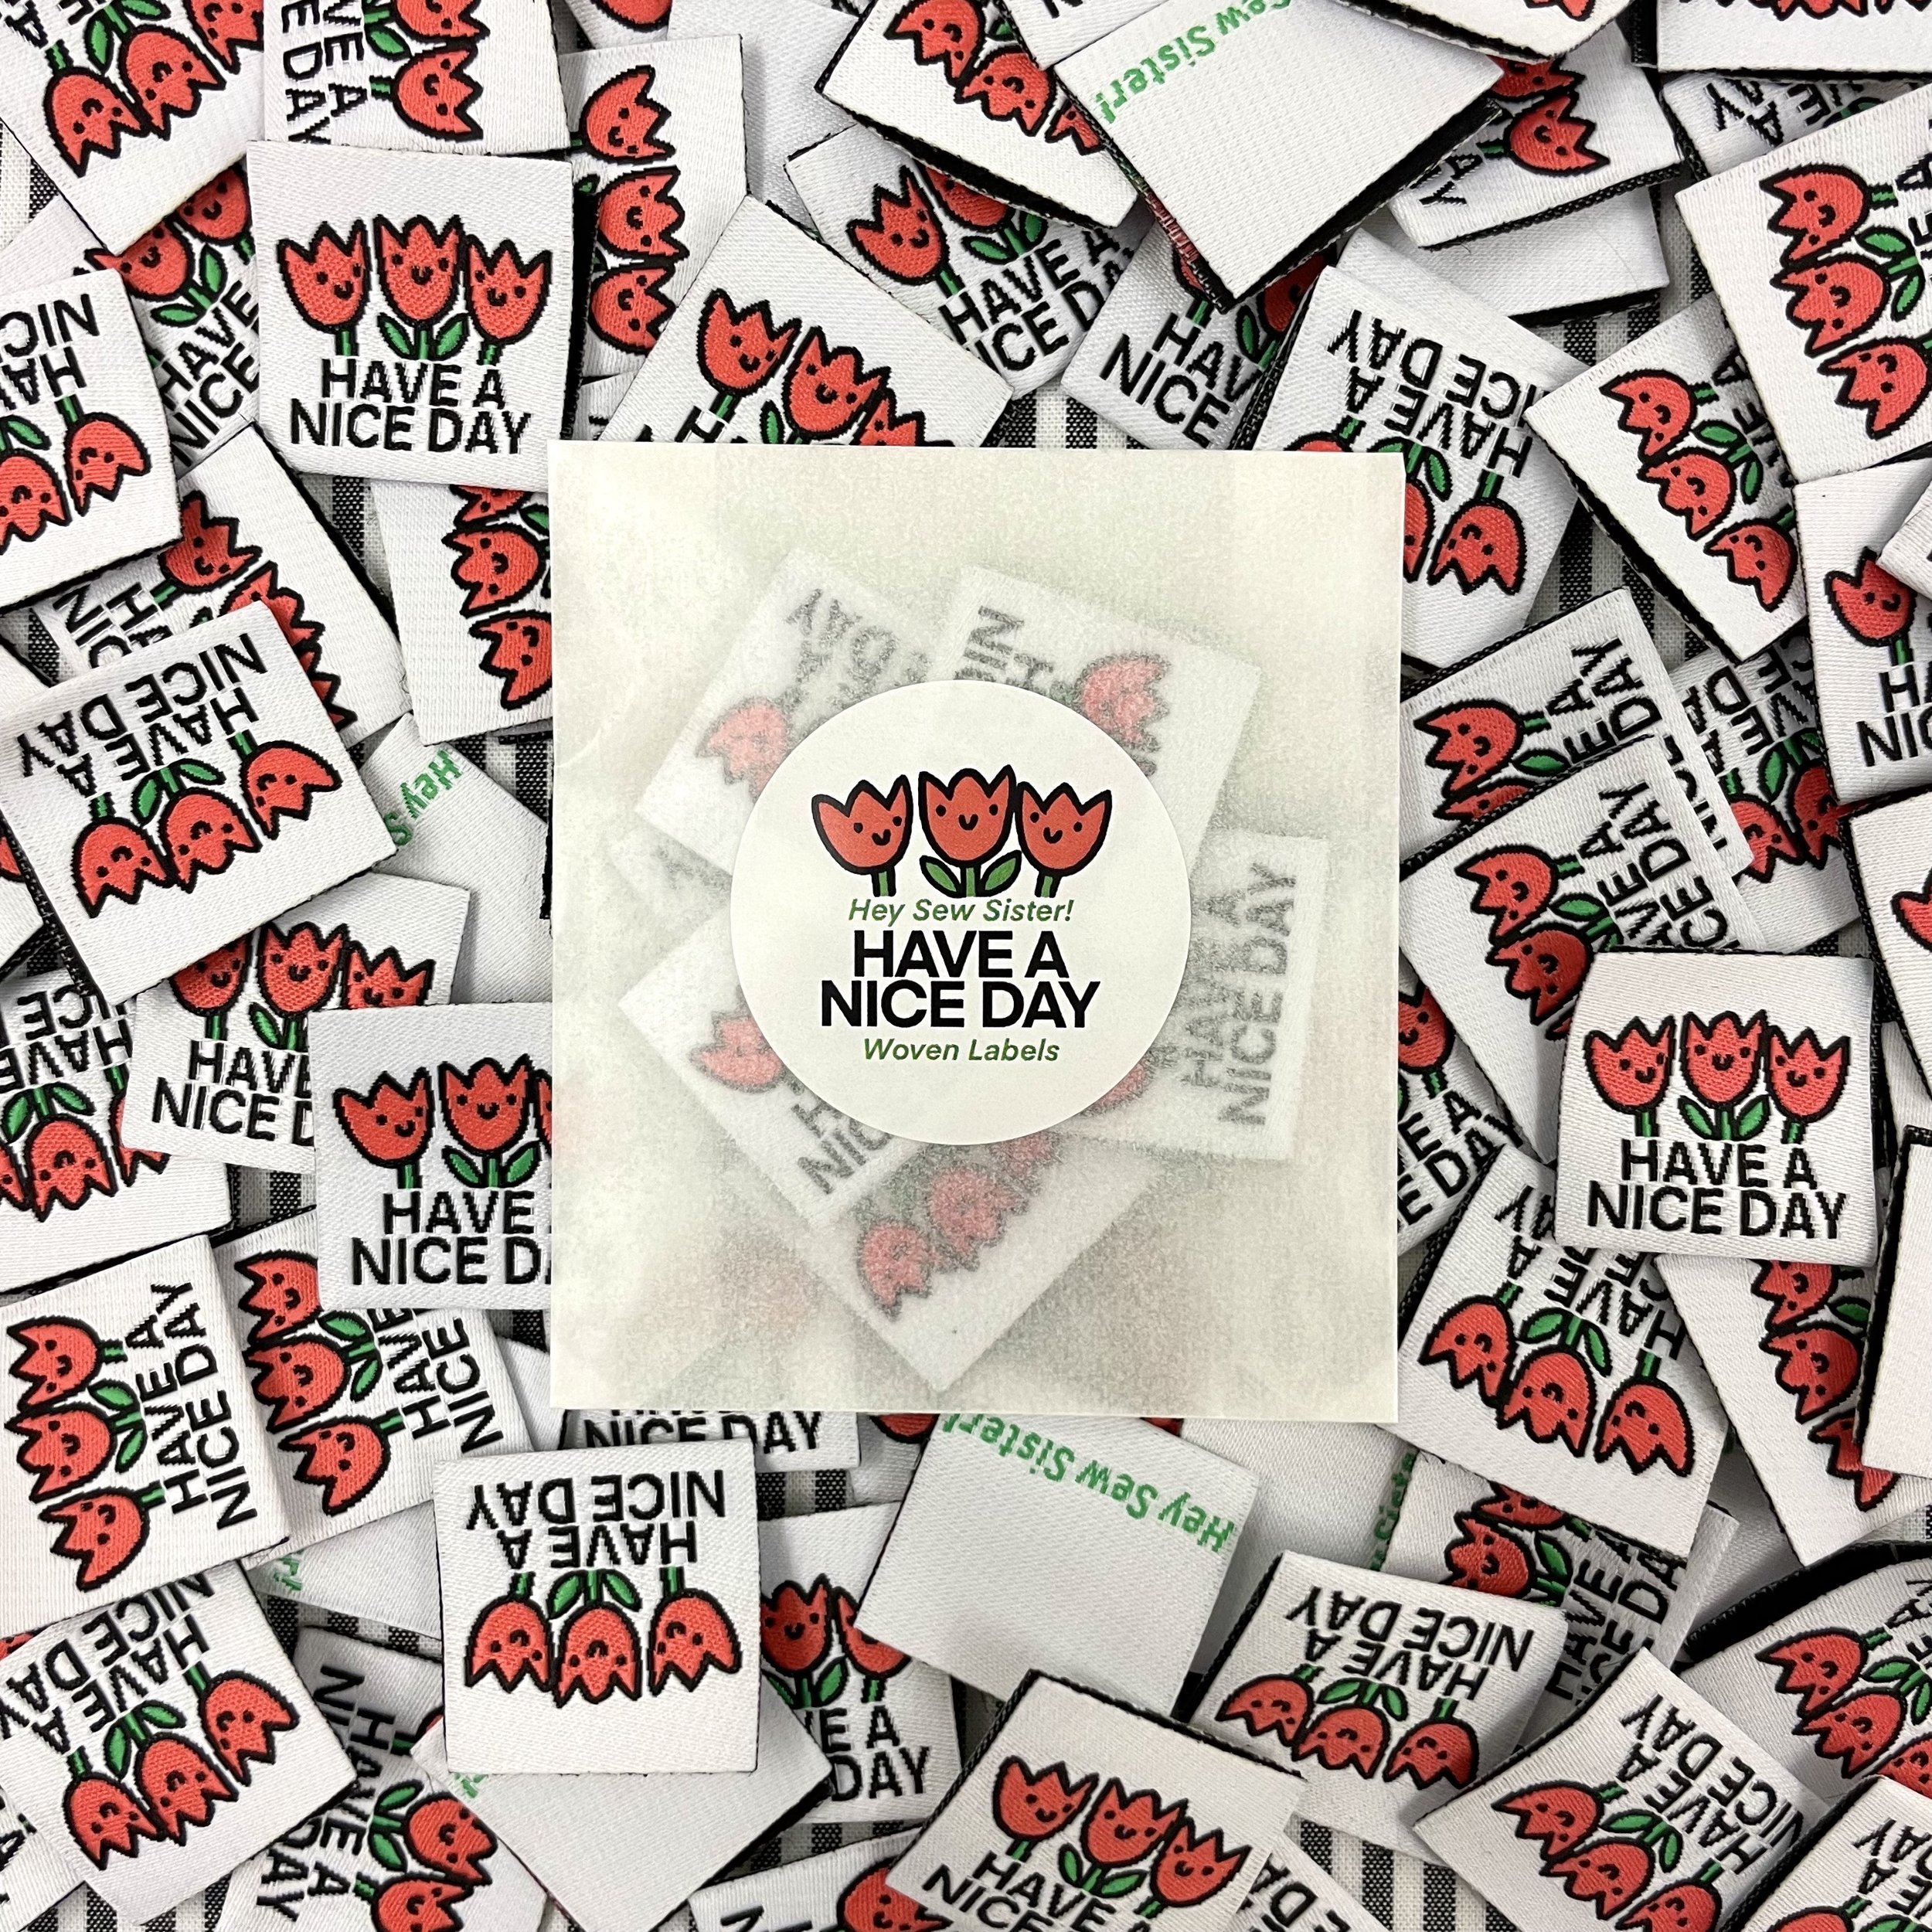
5 x electric blue and baby pink ‘Have a NICE day’ flat woven labels.

Each label is approx. 45 x 30mm.

Iron-on Adhesive:

Each pack of labels comes with a sheet of iron on adhesive to help with placement and sewing down. Please note that stitching the label into place is a must and the iron-on adhesive is an aid rather than an alternative.

Instructions on how to apply and use iron-on adhesive:

  1. Cut the iron on adhesive to shape of label.

  2. Turn the iron on to a medium heat with steam.

  3. Place the label face down on the ironing board and then place the piece of iron on adhesive with adhesive side down on top of the label.

  4. Press with the iron for a few seconds then allow to cool.

  5. You should now be able to peel the paper backing from the iron on adhesive.

  6. Decide where you would like to position the label and then place adhesive side down/label face up with an ironing cloth or scrap piece of cotton fabric over the label.

  7. Press with the iron for about 10-15 seconds. Do not touch the fabric or label and let it completely cool down as the bonding process happens with the cooling down of the fabric and adhesive.

  8. Once cool, check the label is bonded to the fabric before moving the fabric.

  9. Stitch the label onto the fabric. You could use a machine stitch and matching thread to stitch all the way around the edge of the label (this is what I did with the Good Luck label on my stripy sweatshirt). If you’d prefer not to use the adhesive you could simply sew a few stitches into each corner of the label or perhaps just sew along the top edge (this is what I did with the Finished label in the neckband of the sweatshirt).

Please notify me when this product is back in stock.
Add To Cart

5 x electric blue and baby pink ‘Have a NICE day’ flat woven labels.

Each label is approx. 45 x 30mm.

Iron-on Adhesive:

Each pack of labels comes with a sheet of iron on adhesive to help with placement and sewing down. Please note that stitching the label into place is a must and the iron-on adhesive is an aid rather than an alternative.

Instructions on how to apply and use iron-on adhesive:

  1. Cut the iron on adhesive to shape of label.

  2. Turn the iron on to a medium heat with steam.

  3. Place the label face down on the ironing board and then place the piece of iron on adhesive with adhesive side down on top of the label.

  4. Press with the iron for a few seconds then allow to cool.

  5. You should now be able to peel the paper backing from the iron on adhesive.

  6. Decide where you would like to position the label and then place adhesive side down/label face up with an ironing cloth or scrap piece of cotton fabric over the label.

  7. Press with the iron for about 10-15 seconds. Do not touch the fabric or label and let it completely cool down as the bonding process happens with the cooling down of the fabric and adhesive.

  8. Once cool, check the label is bonded to the fabric before moving the fabric.

  9. Stitch the label onto the fabric. You could use a machine stitch and matching thread to stitch all the way around the edge of the label (this is what I did with the Good Luck label on my stripy sweatshirt). If you’d prefer not to use the adhesive you could simply sew a few stitches into each corner of the label or perhaps just sew along the top edge (this is what I did with the Finished label in the neckband of the sweatshirt).

5 x electric blue and baby pink ‘Have a NICE day’ flat woven labels.

Each label is approx. 45 x 30mm.
Iron-on Adhesive:

Each pack of labels comes with a sheet of iron on adhesive to help with placement and sewing down. Please note that stitching the label into place is a must and the iron-on adhesive is an aid rather than an alternative.

Instructions on how to apply and use iron-on adhesive:

  1. Cut the iron on adhesive to shape of label.

  2. Turn the iron on to a medium heat with steam.

  3. Place the label face down on the ironing board and then place the piece of iron on adhesive with adhesive side down on top of the label.

  4. Press with the iron for a few seconds then allow to cool.

  5. You should now be able to peel the paper backing from the iron on adhesive.

  6. Decide where you would like to position the label and then place adhesive side down/label face up with an ironing cloth or scrap piece of cotton fabric over the label.

  7. Press with the iron for about 10-15 seconds. Do not touch the fabric or label and let it completely cool down as the bonding process happens with the cooling down of the fabric and adhesive.

  8. Once cool, check the label is bonded to the fabric before moving the fabric.

  9. Stitch the label onto the fabric. You could use a machine stitch and matching thread to stitch all the way around the edge of the label (this is what I did with the Good Luck label on my stripy sweatshirt). If you’d prefer not to use the adhesive you could simply sew a few stitches into each corner of the label or perhaps just sew along the top edge (this is what I did with the Finished label in the neckband of the sweatshirt).

Hey Sew Sister - Woven Labels - Finished
£6.00
Out of Stock
Hey Sew Sister - Dancefloor - Pack of 6 Woven Labels
£7.75
Paige Joanna x Hey Sew Sister - Woven Labels - Picnic Vibes
£8.25
Out of Stock
Hey Sew Sister - Woven Labels - Collection 2, Cute Labels!
from £7.75
Out of Stock
Hey Sew Sister - Woven Labels - Have a Lovely Day! (Floral)
£6.50
Out of Stock