 Image 1 of 7

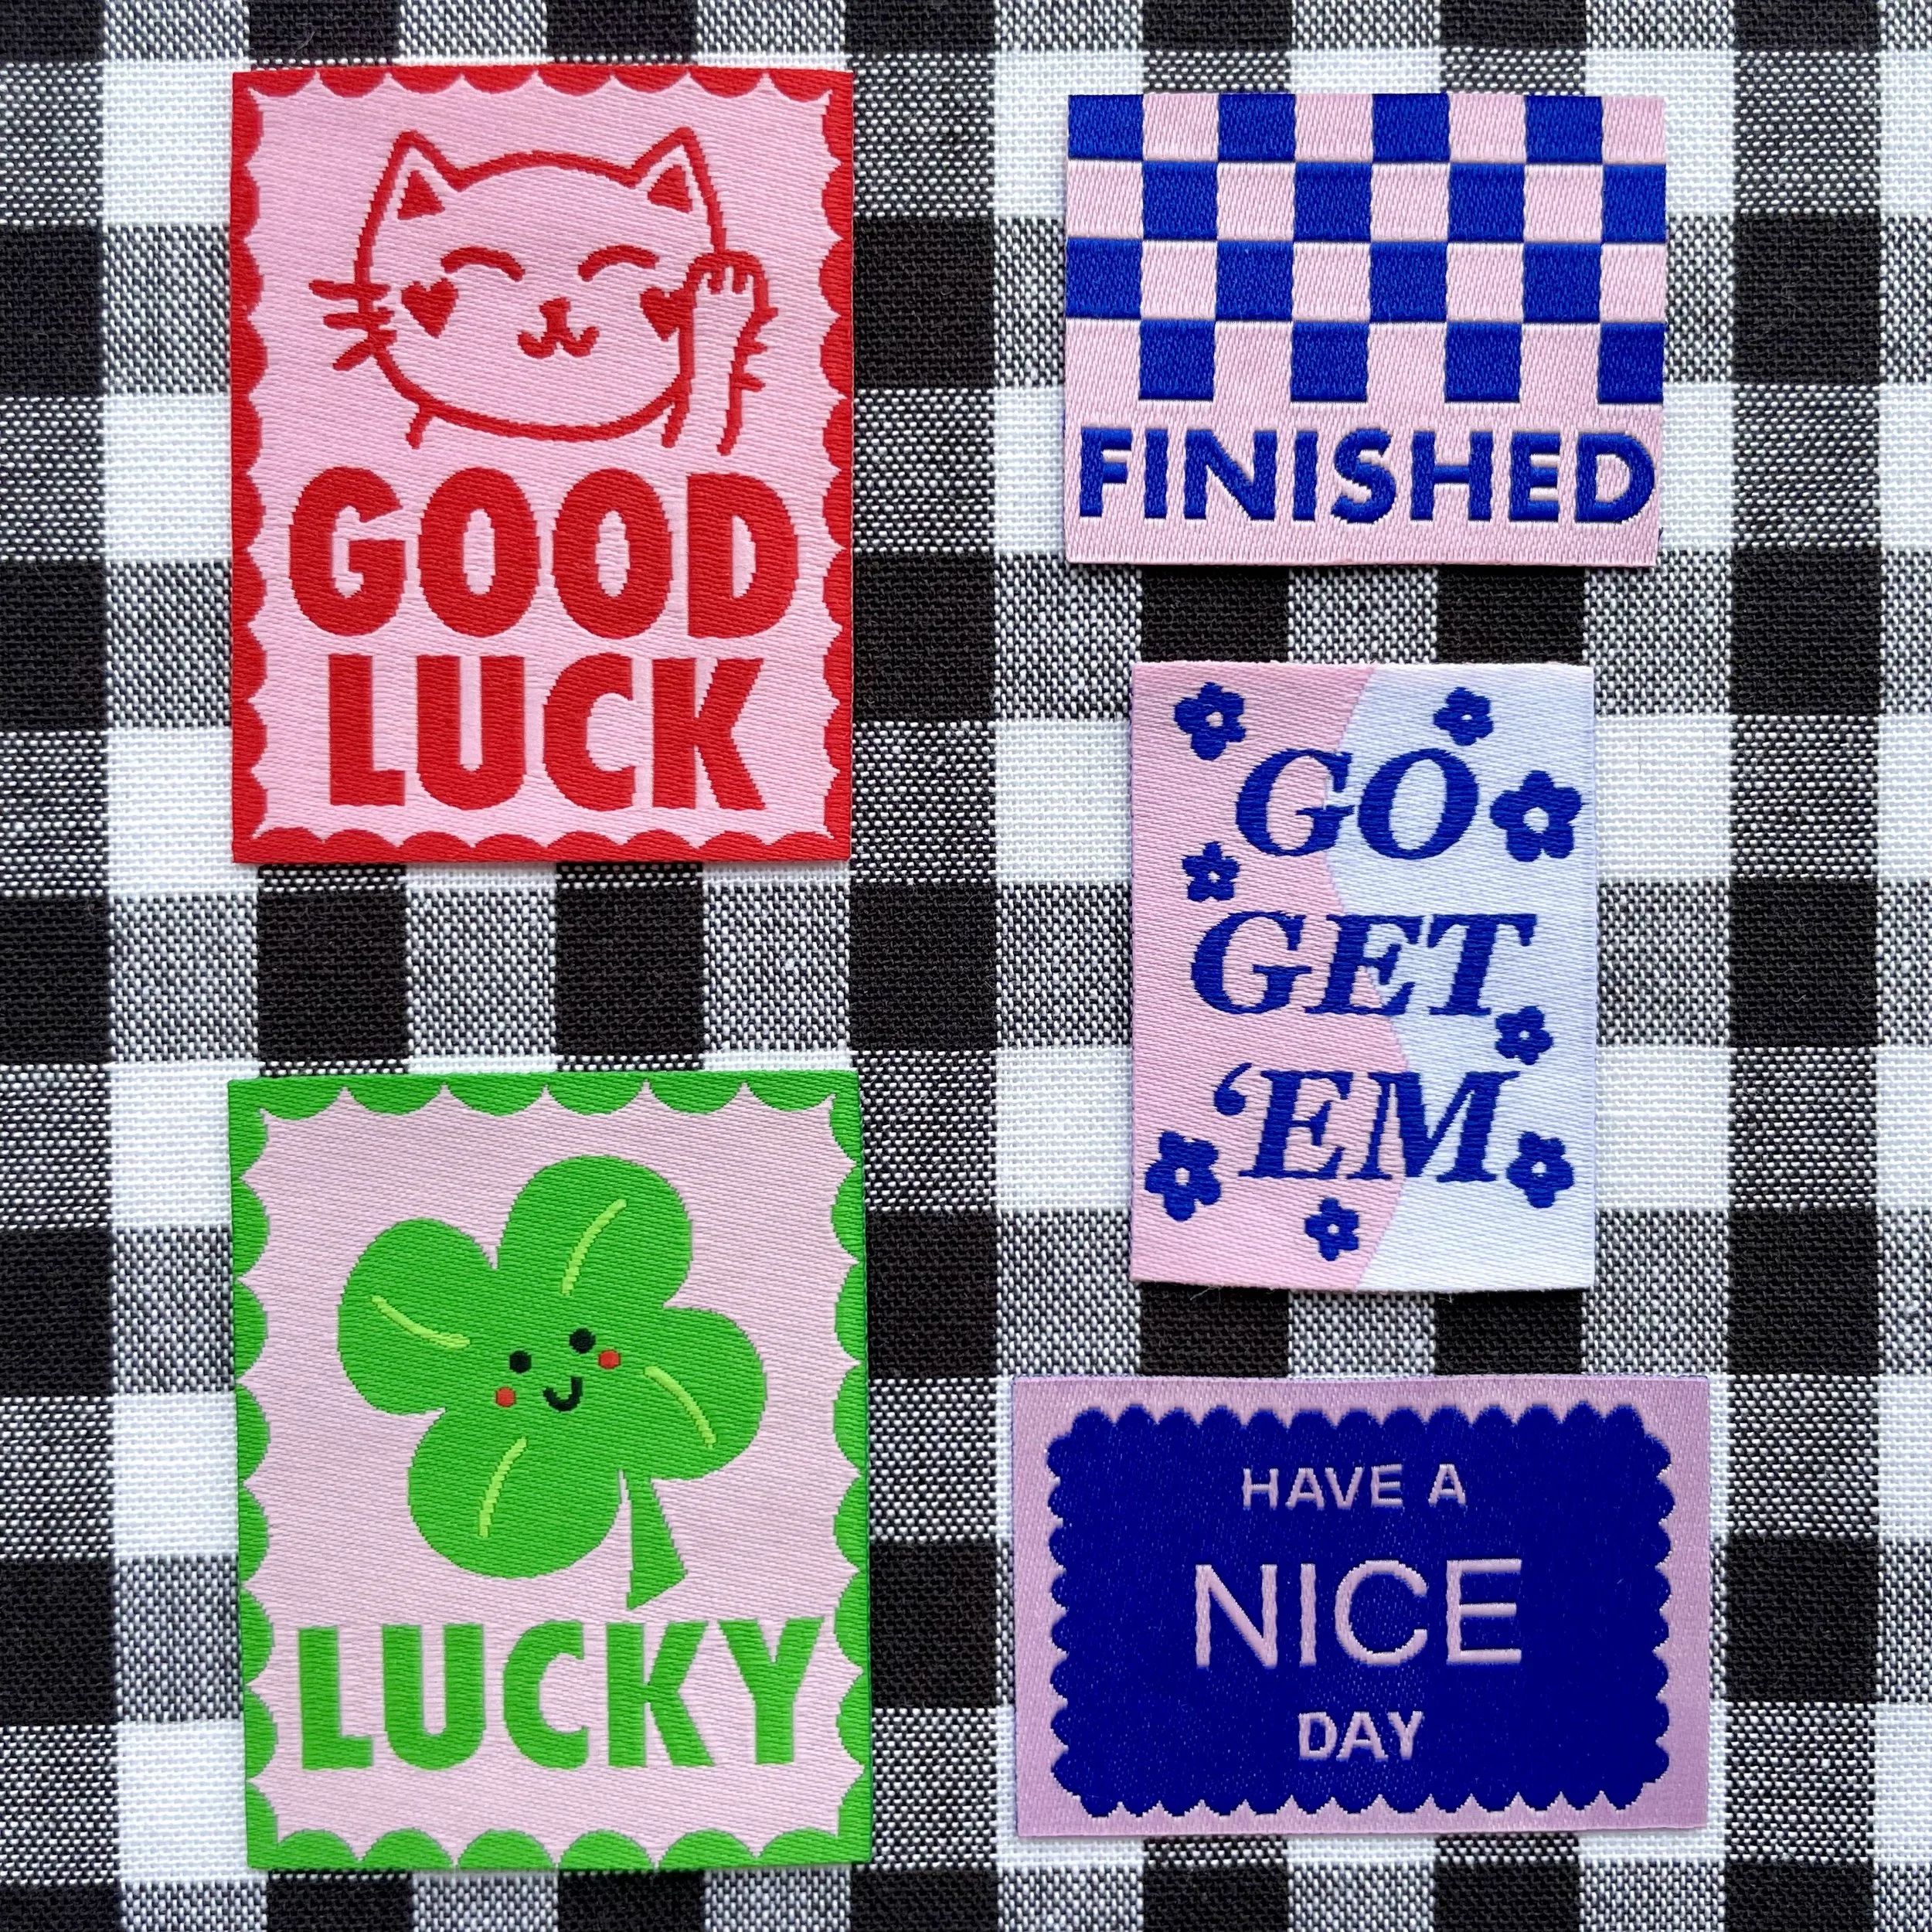 Image 2 of 7

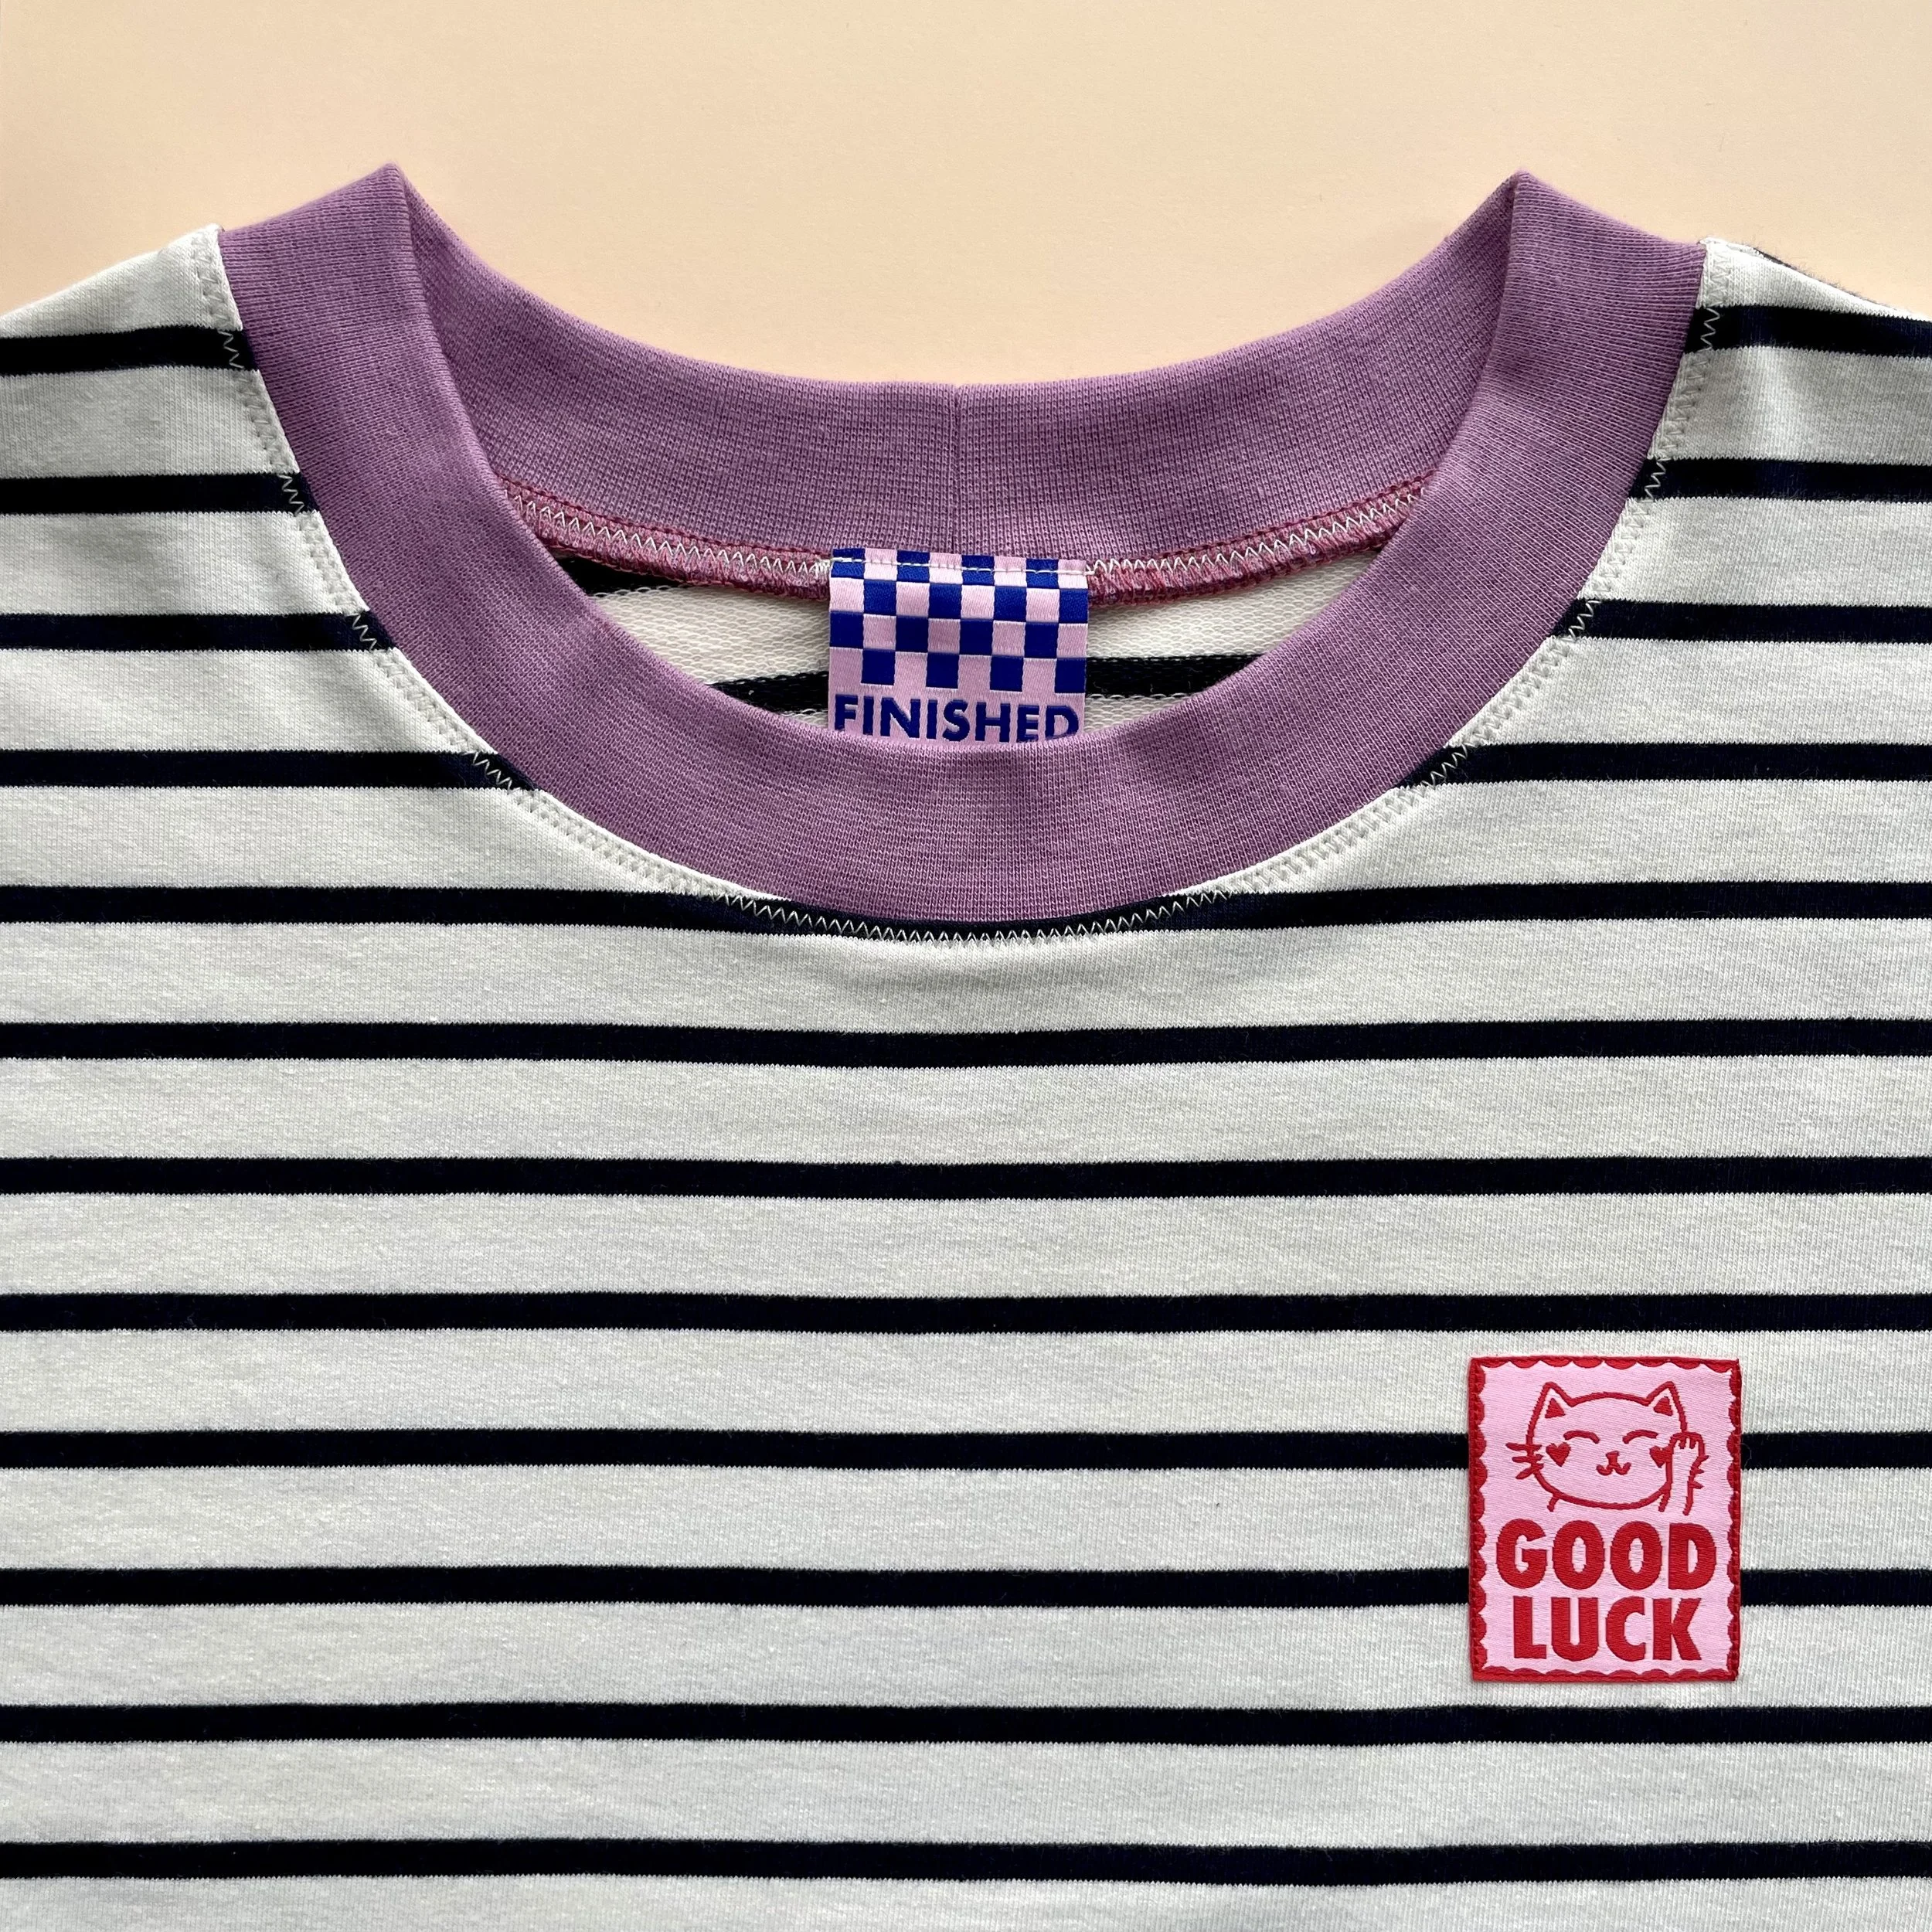 Image 3 of 7

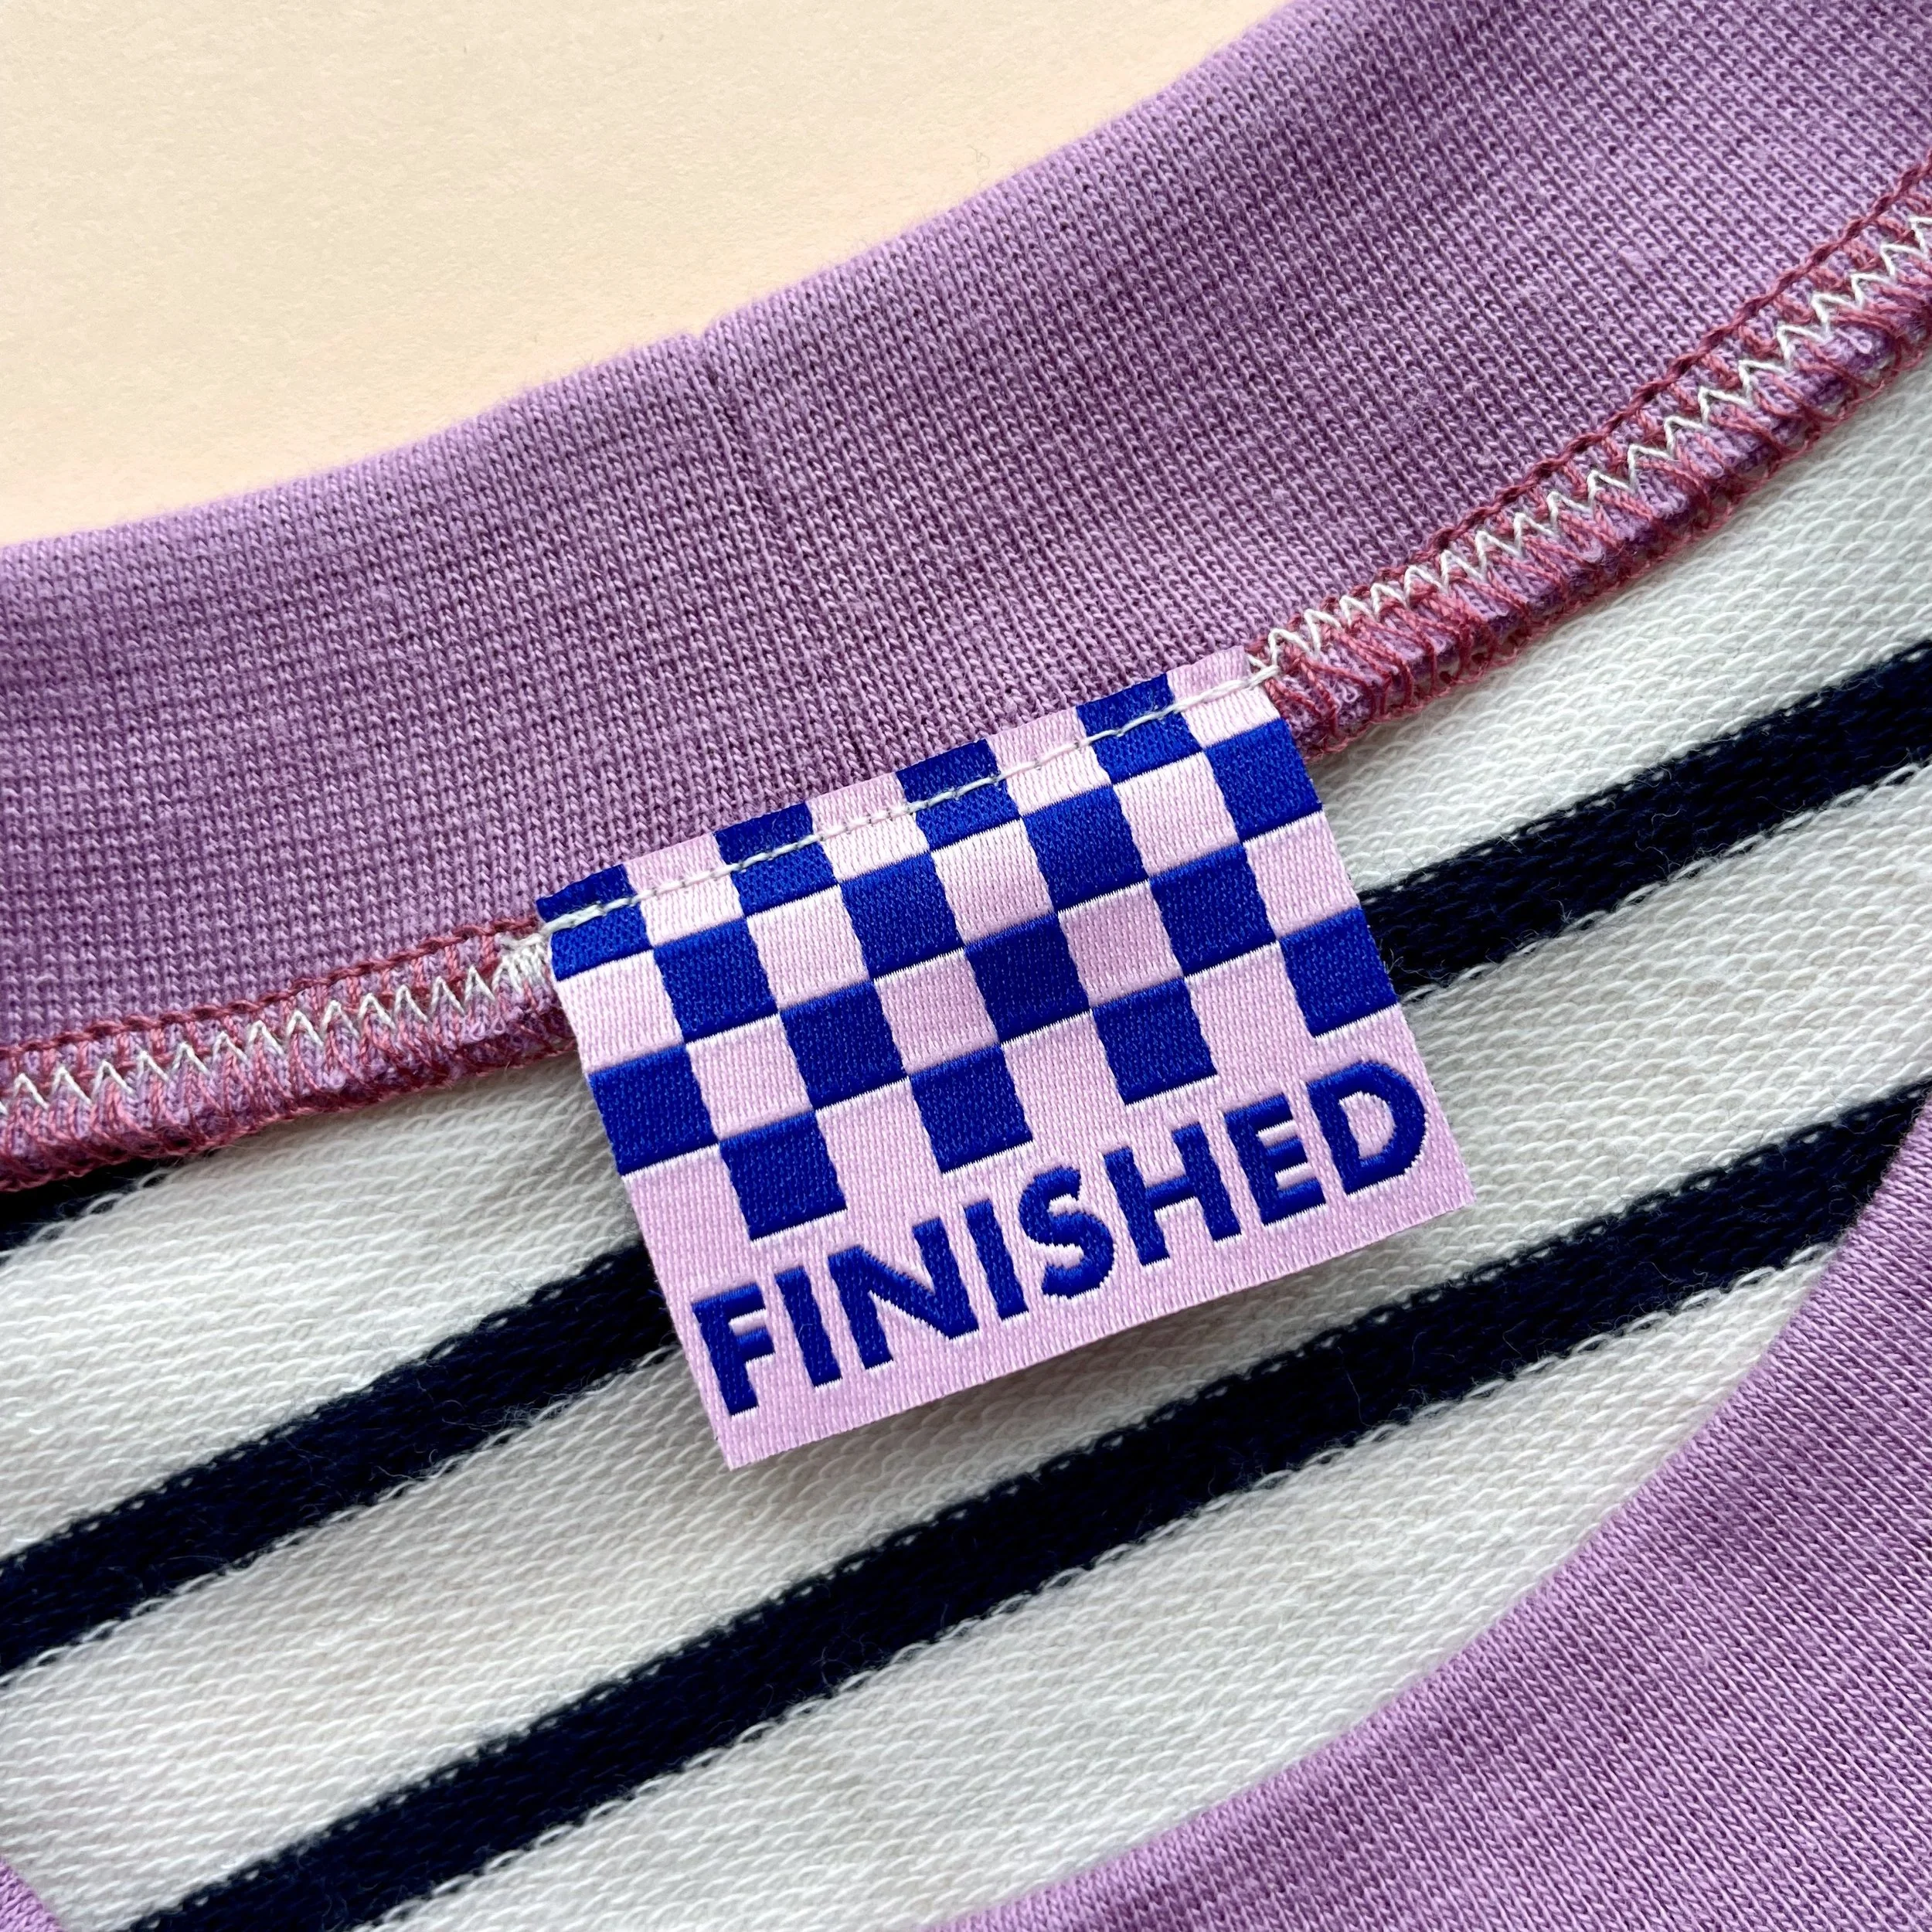 Image 4 of 7

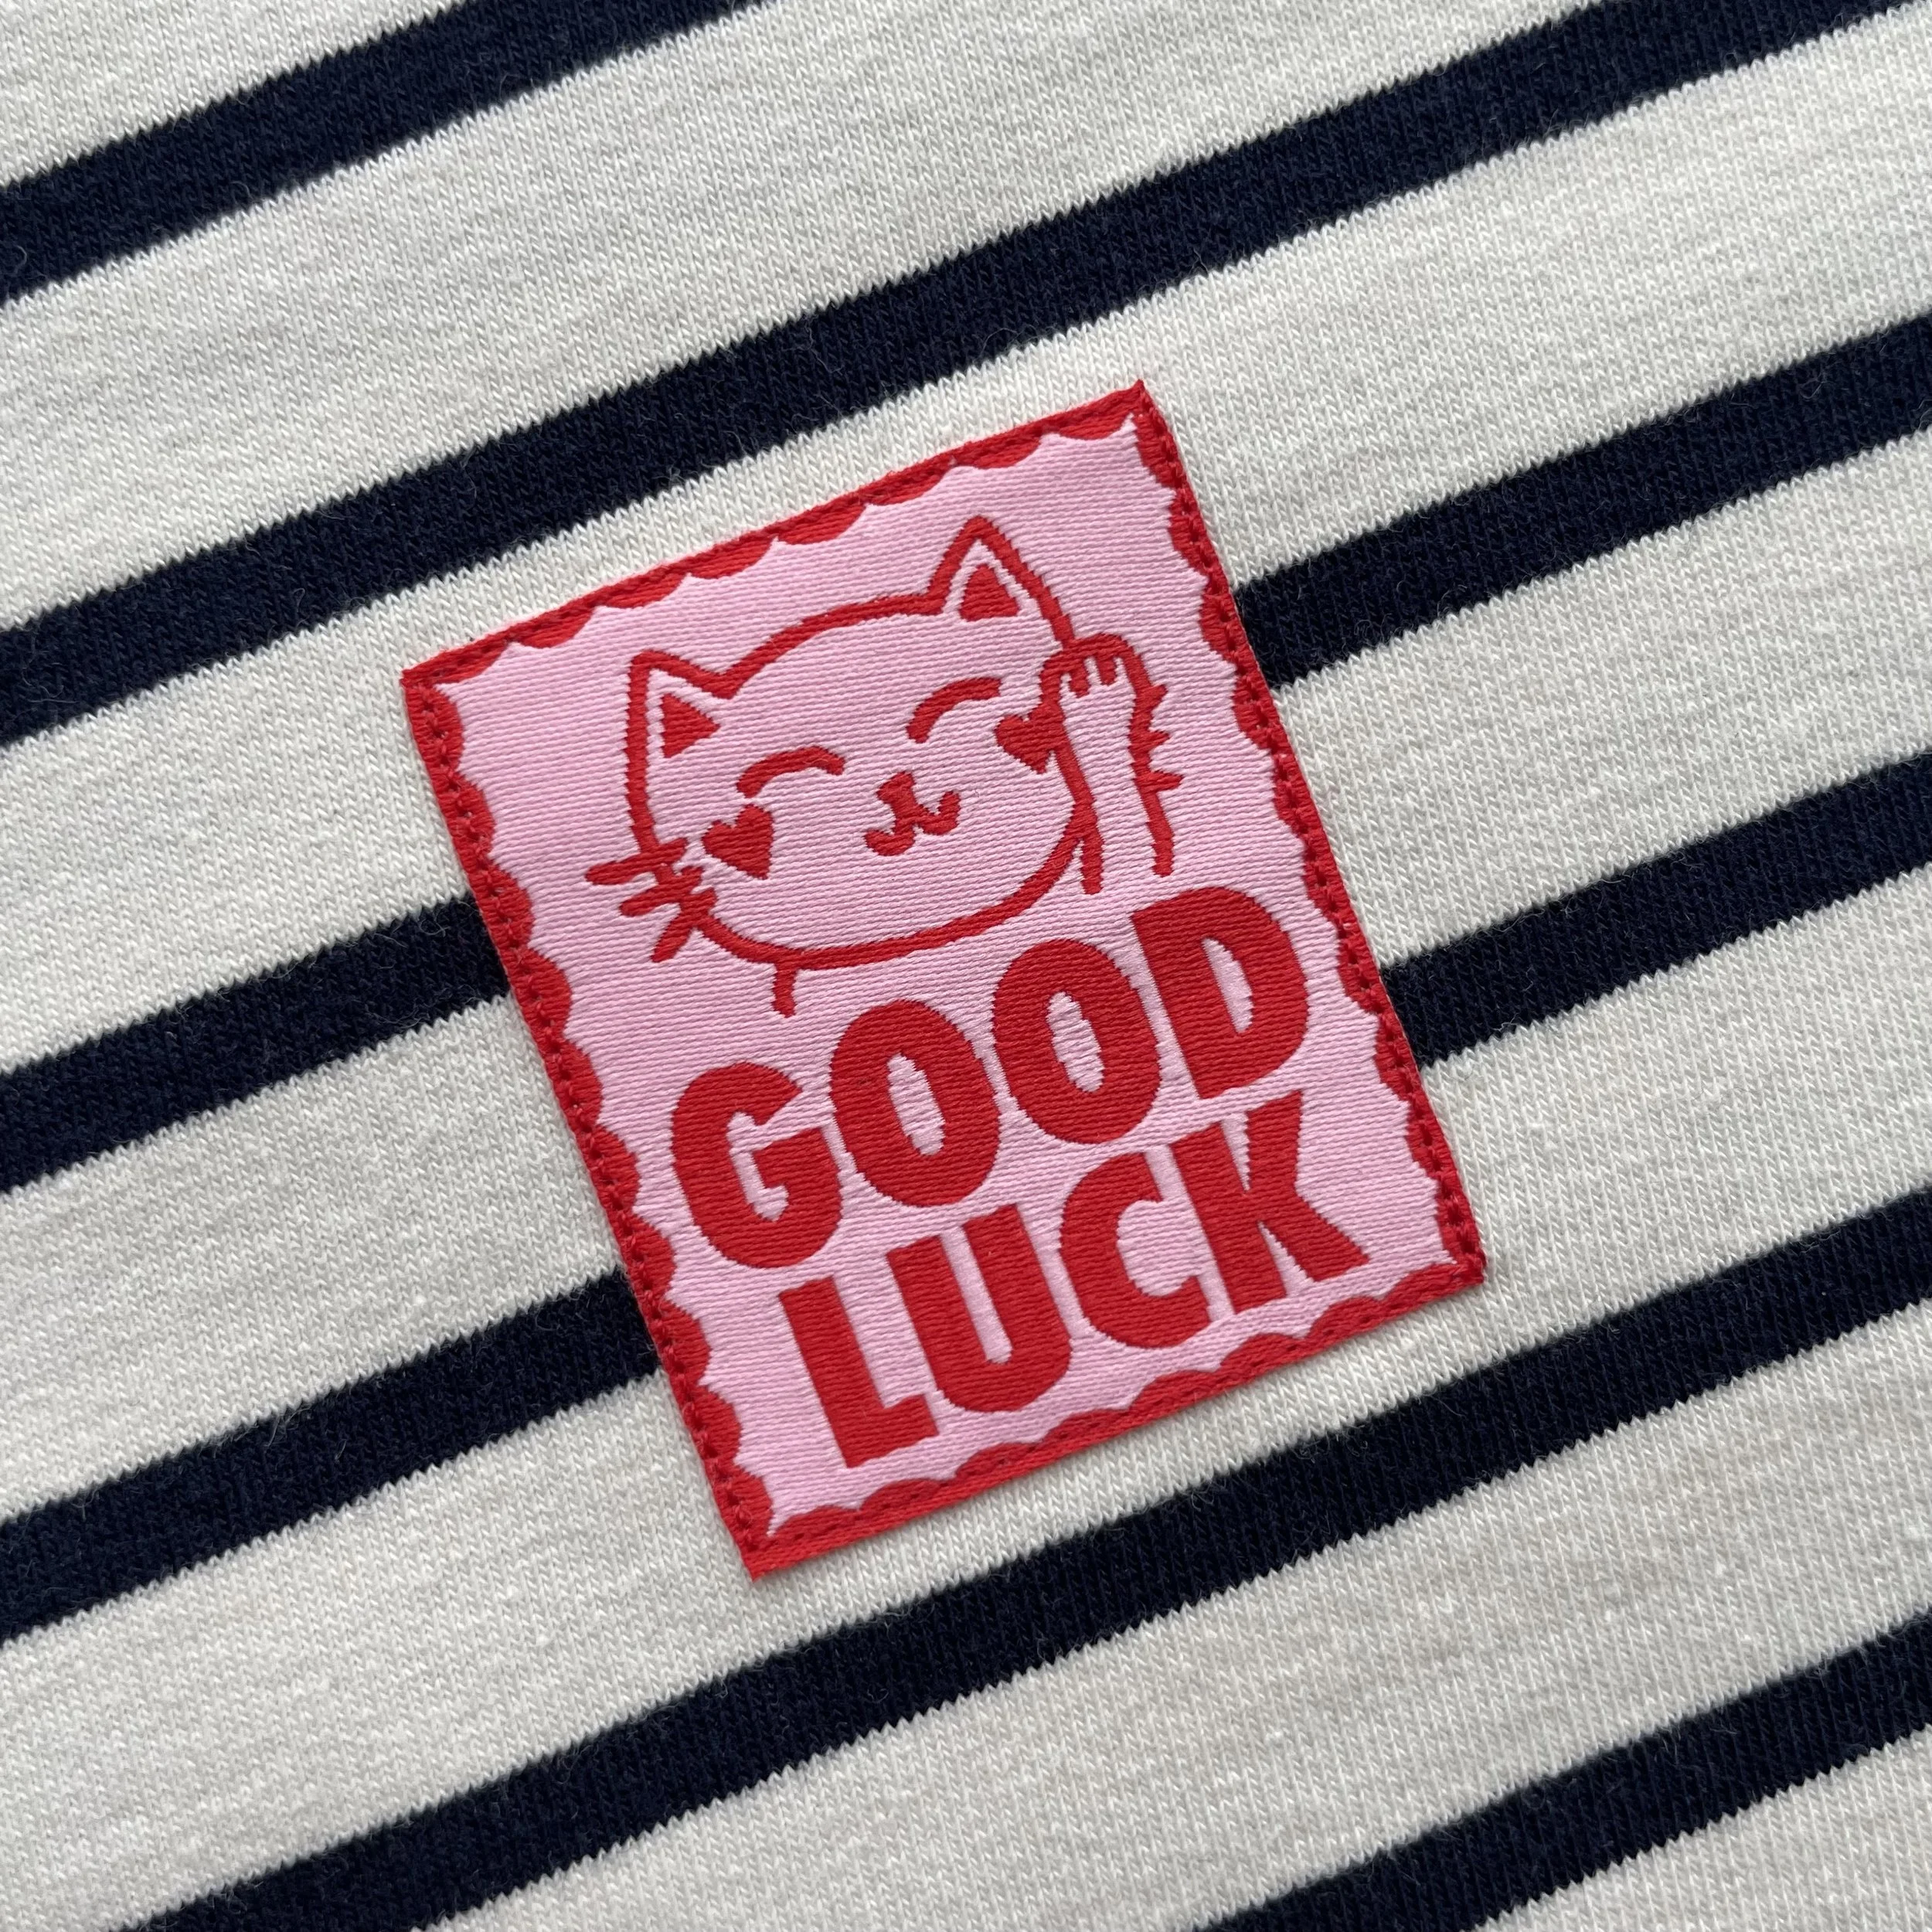 Image 5 of 7

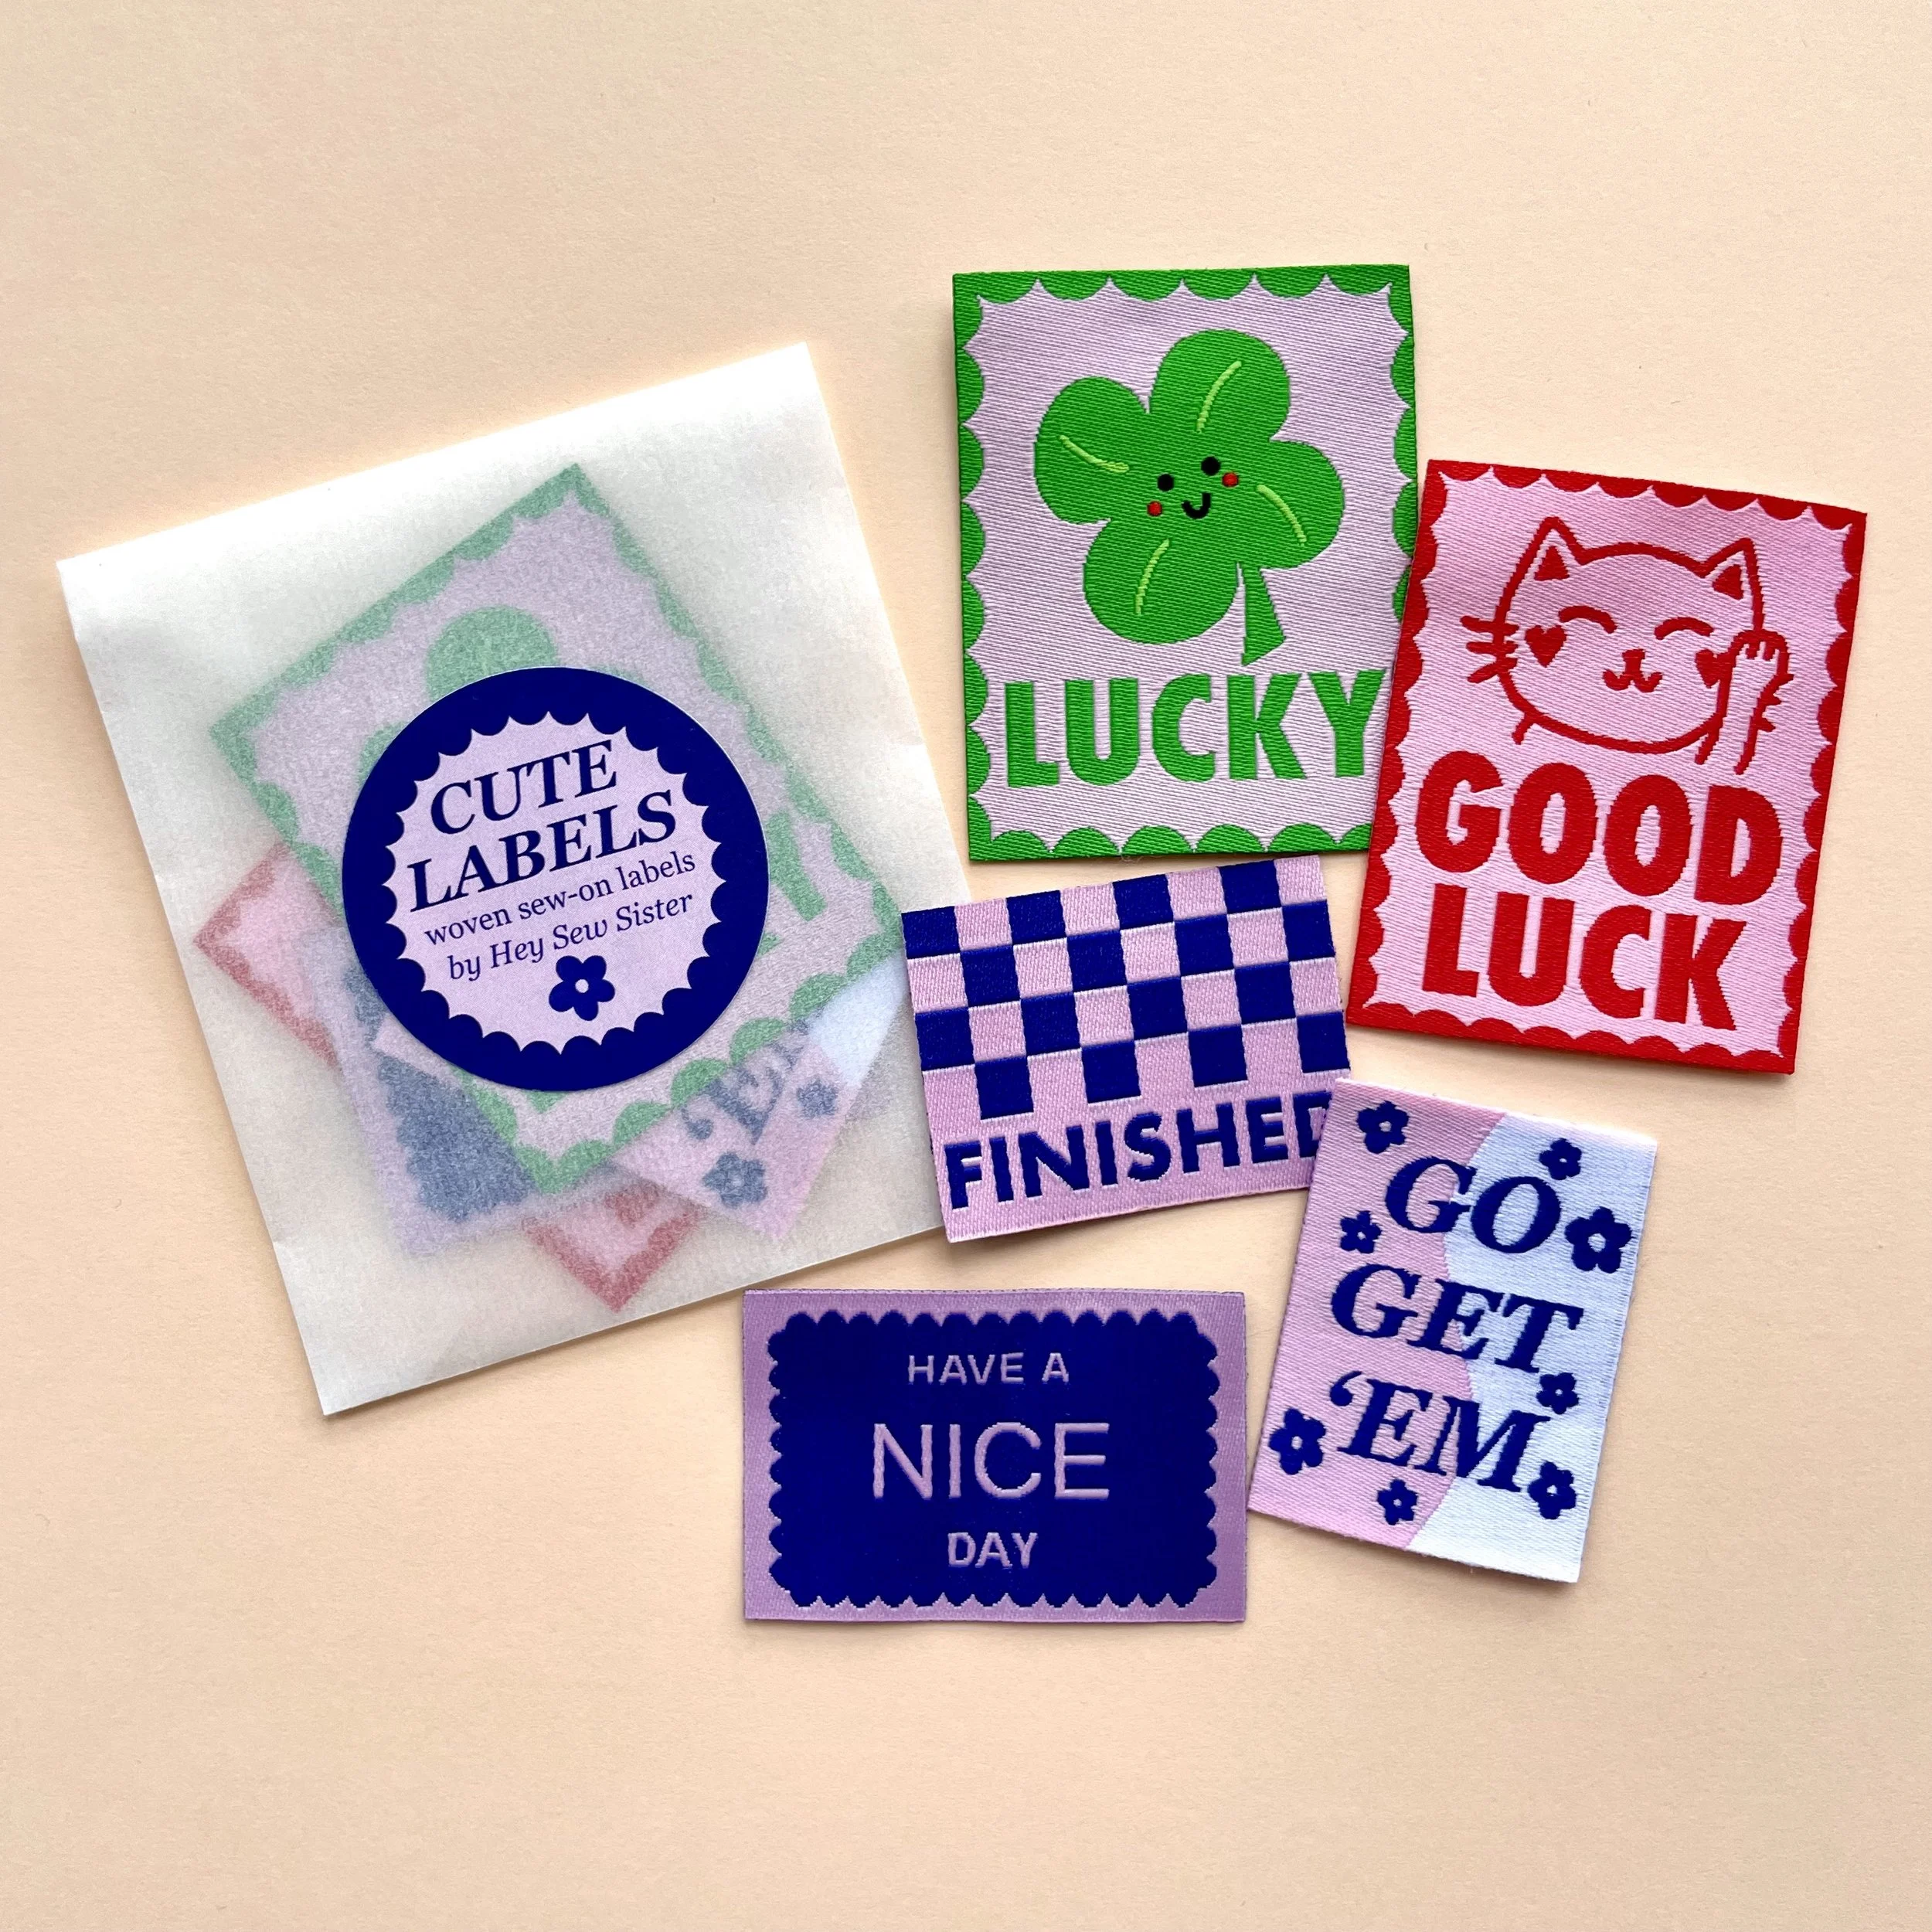 Image 6 of 7

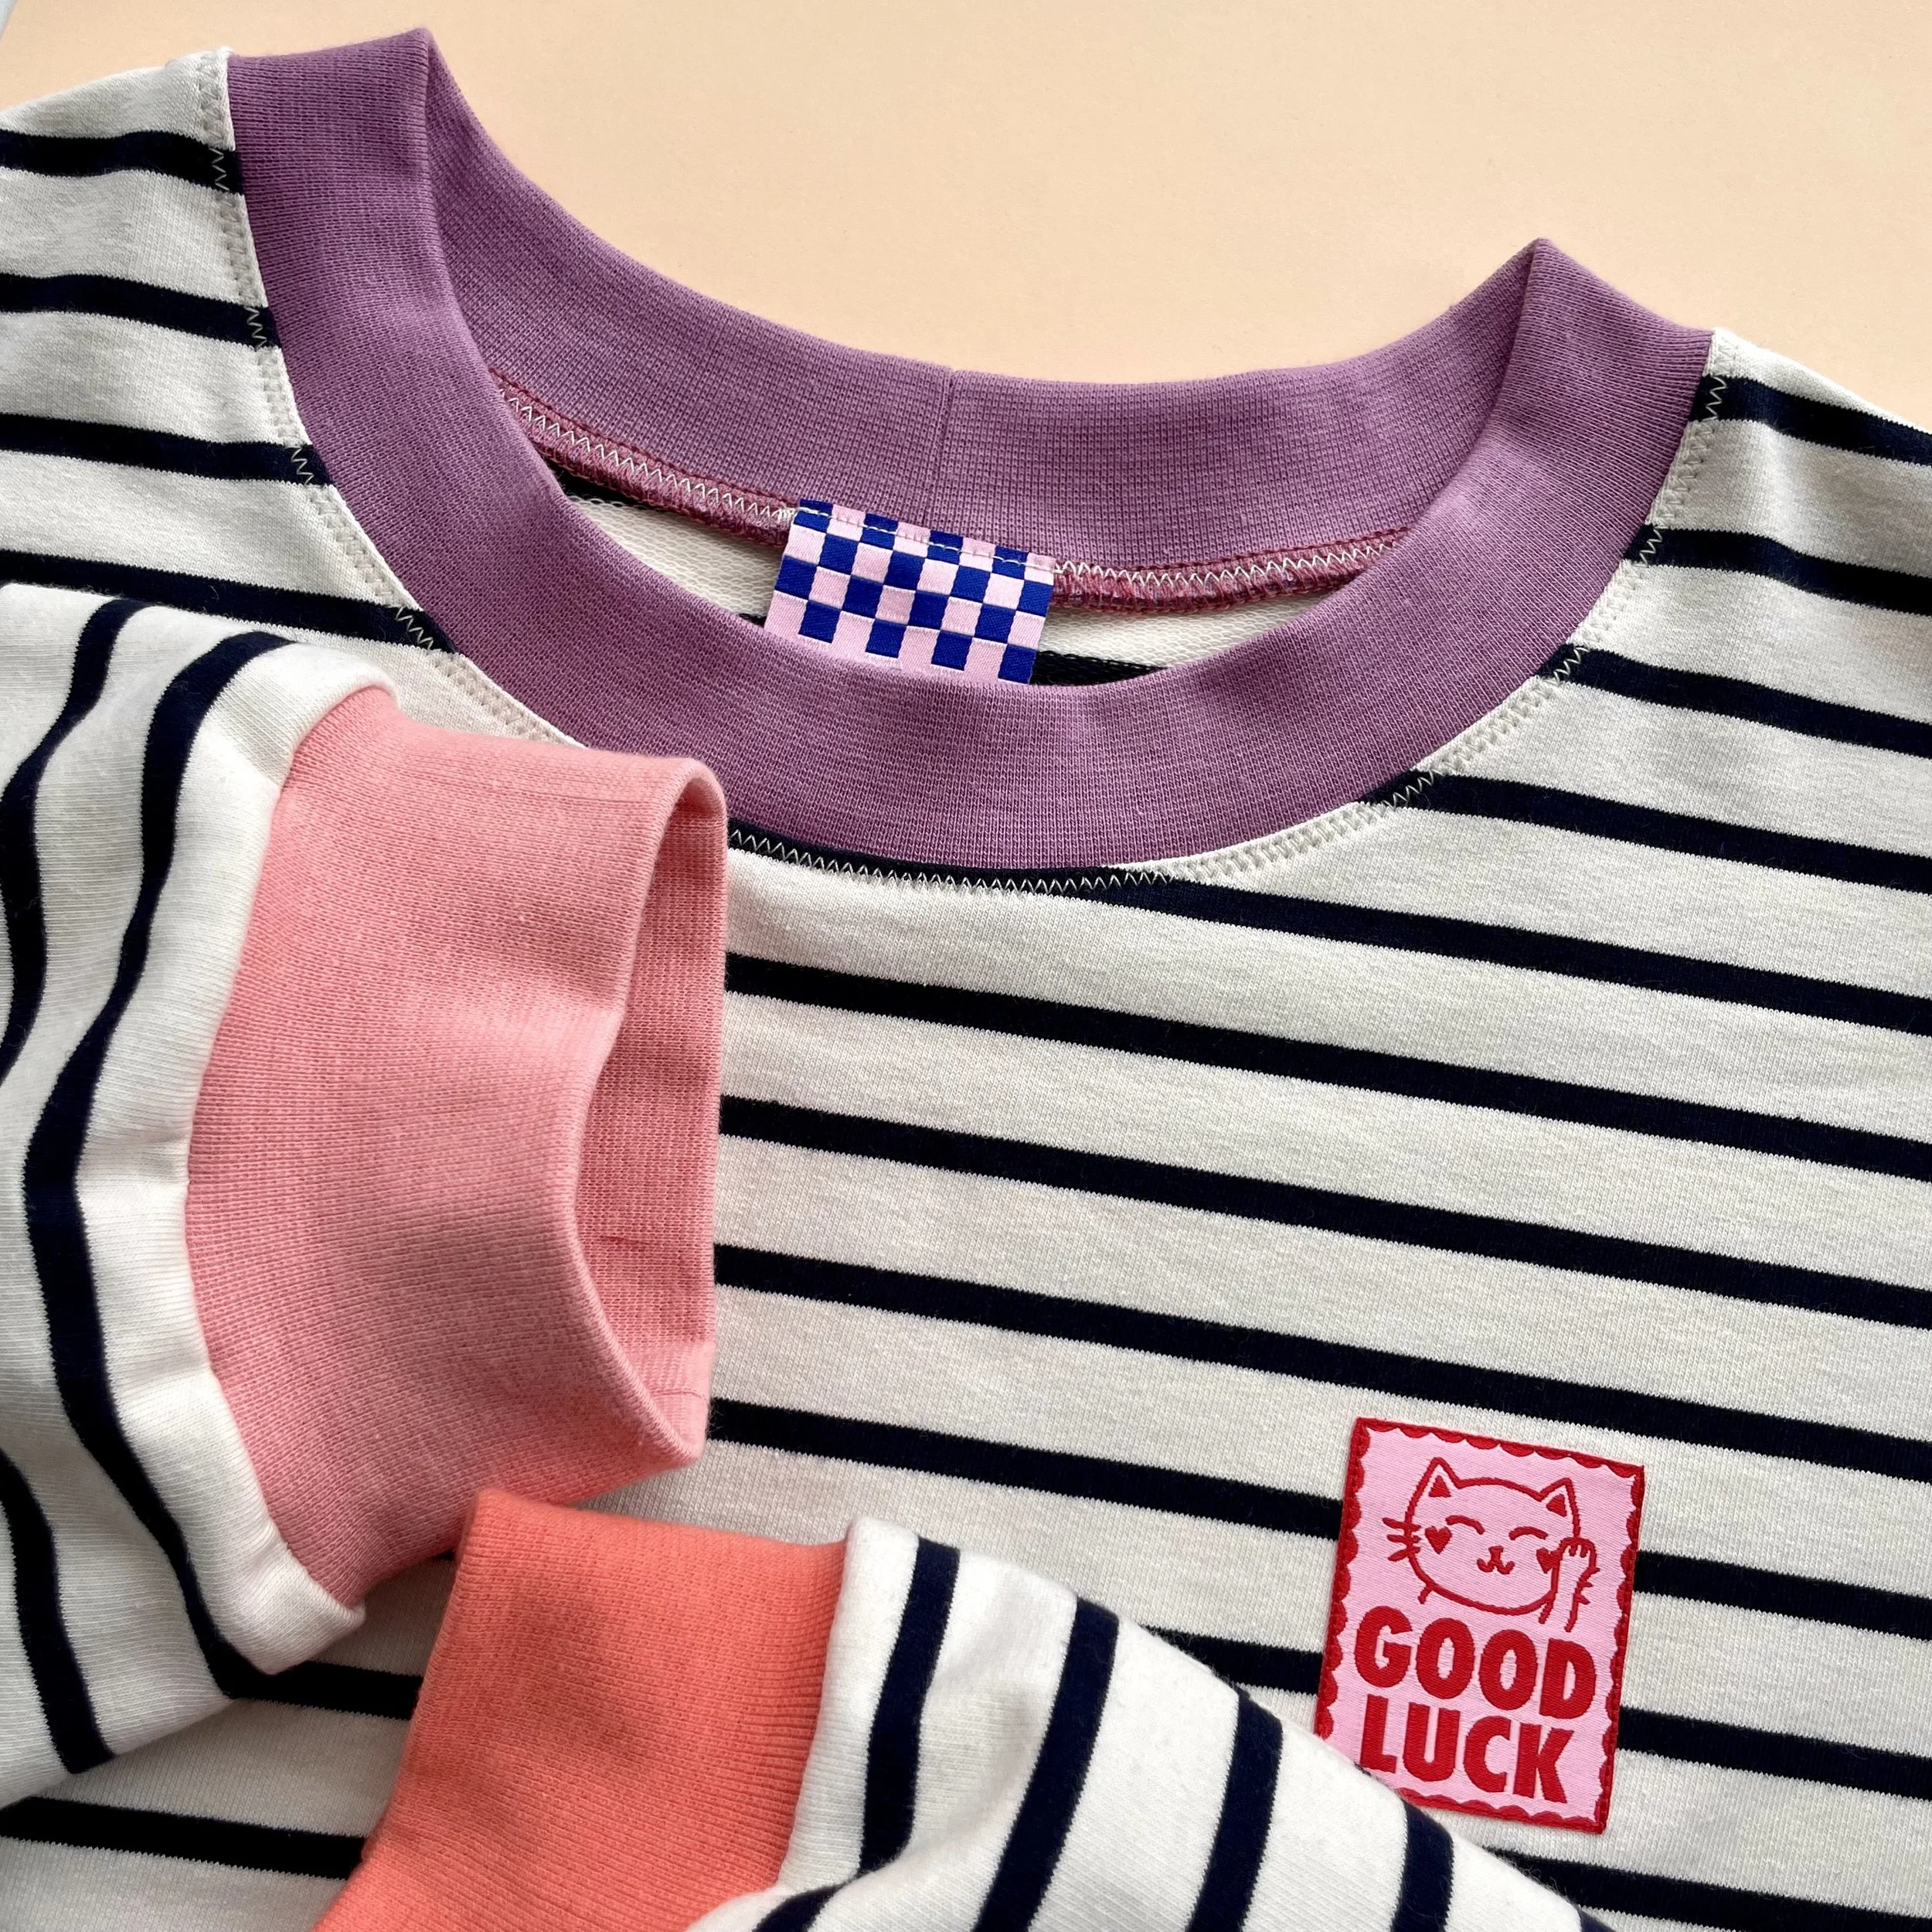 Image 7 of 7


Hey Sew Sister - Woven Labels - Collection 2, Cute Labels!
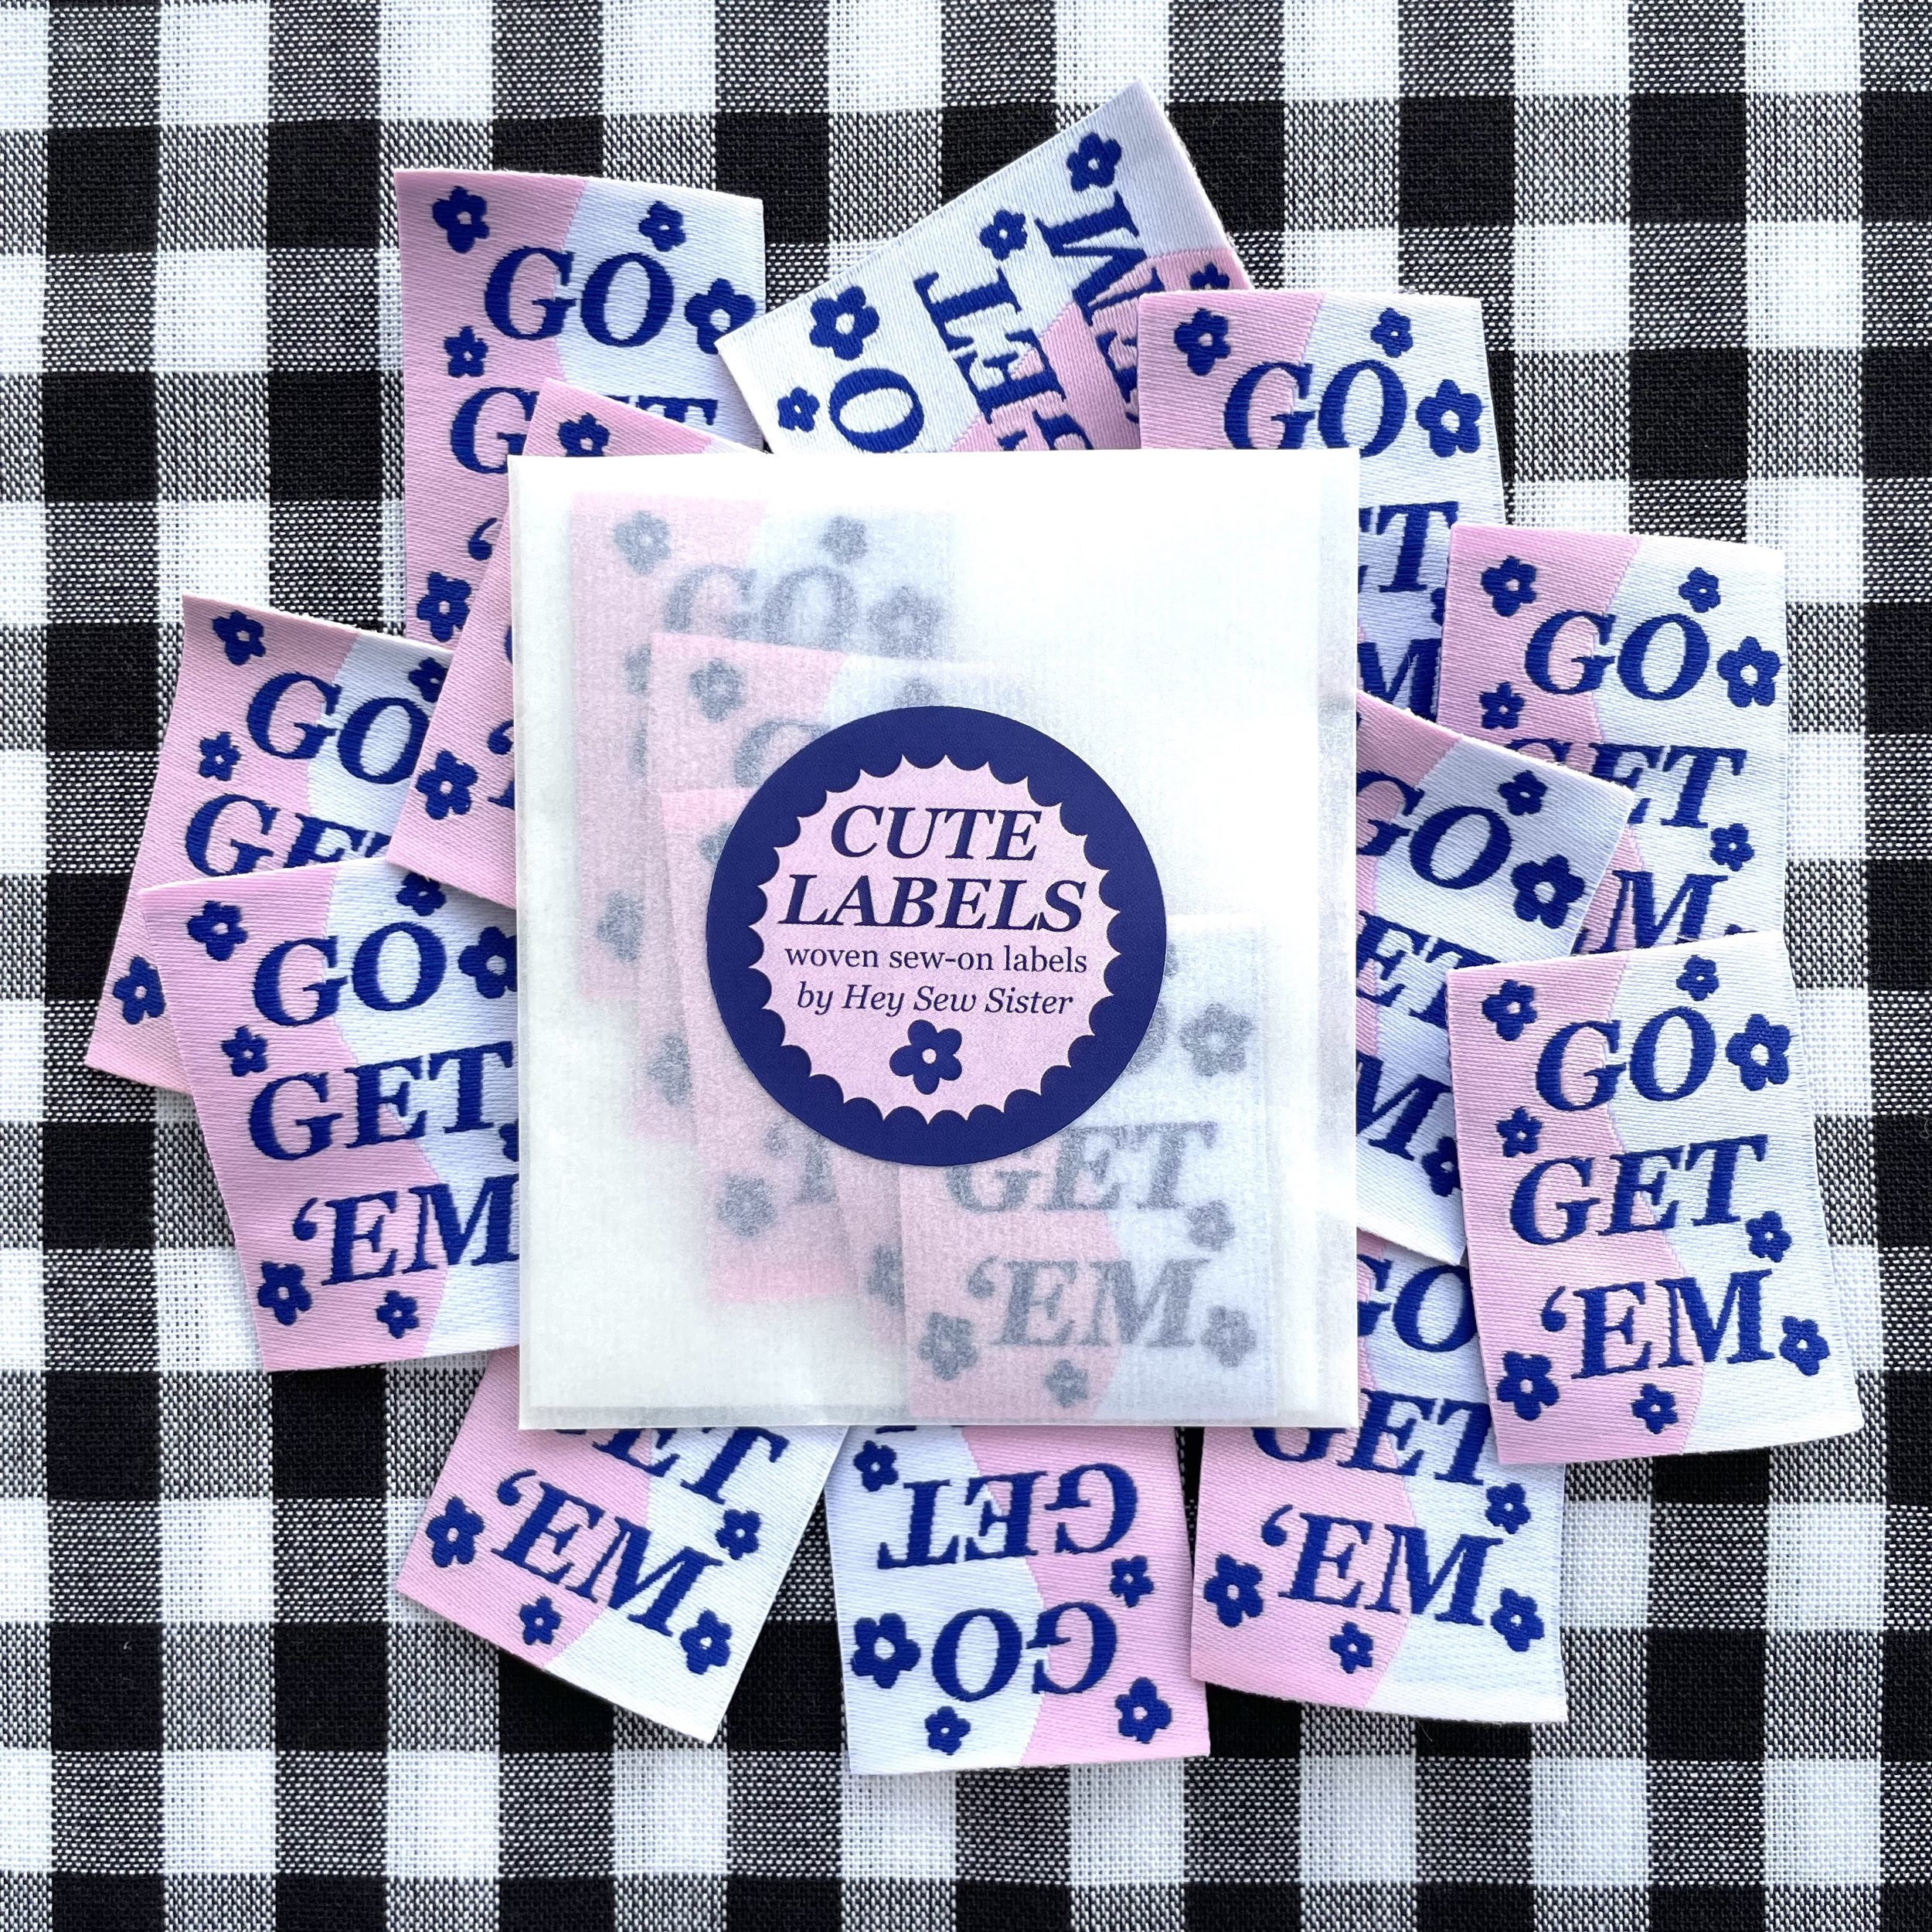
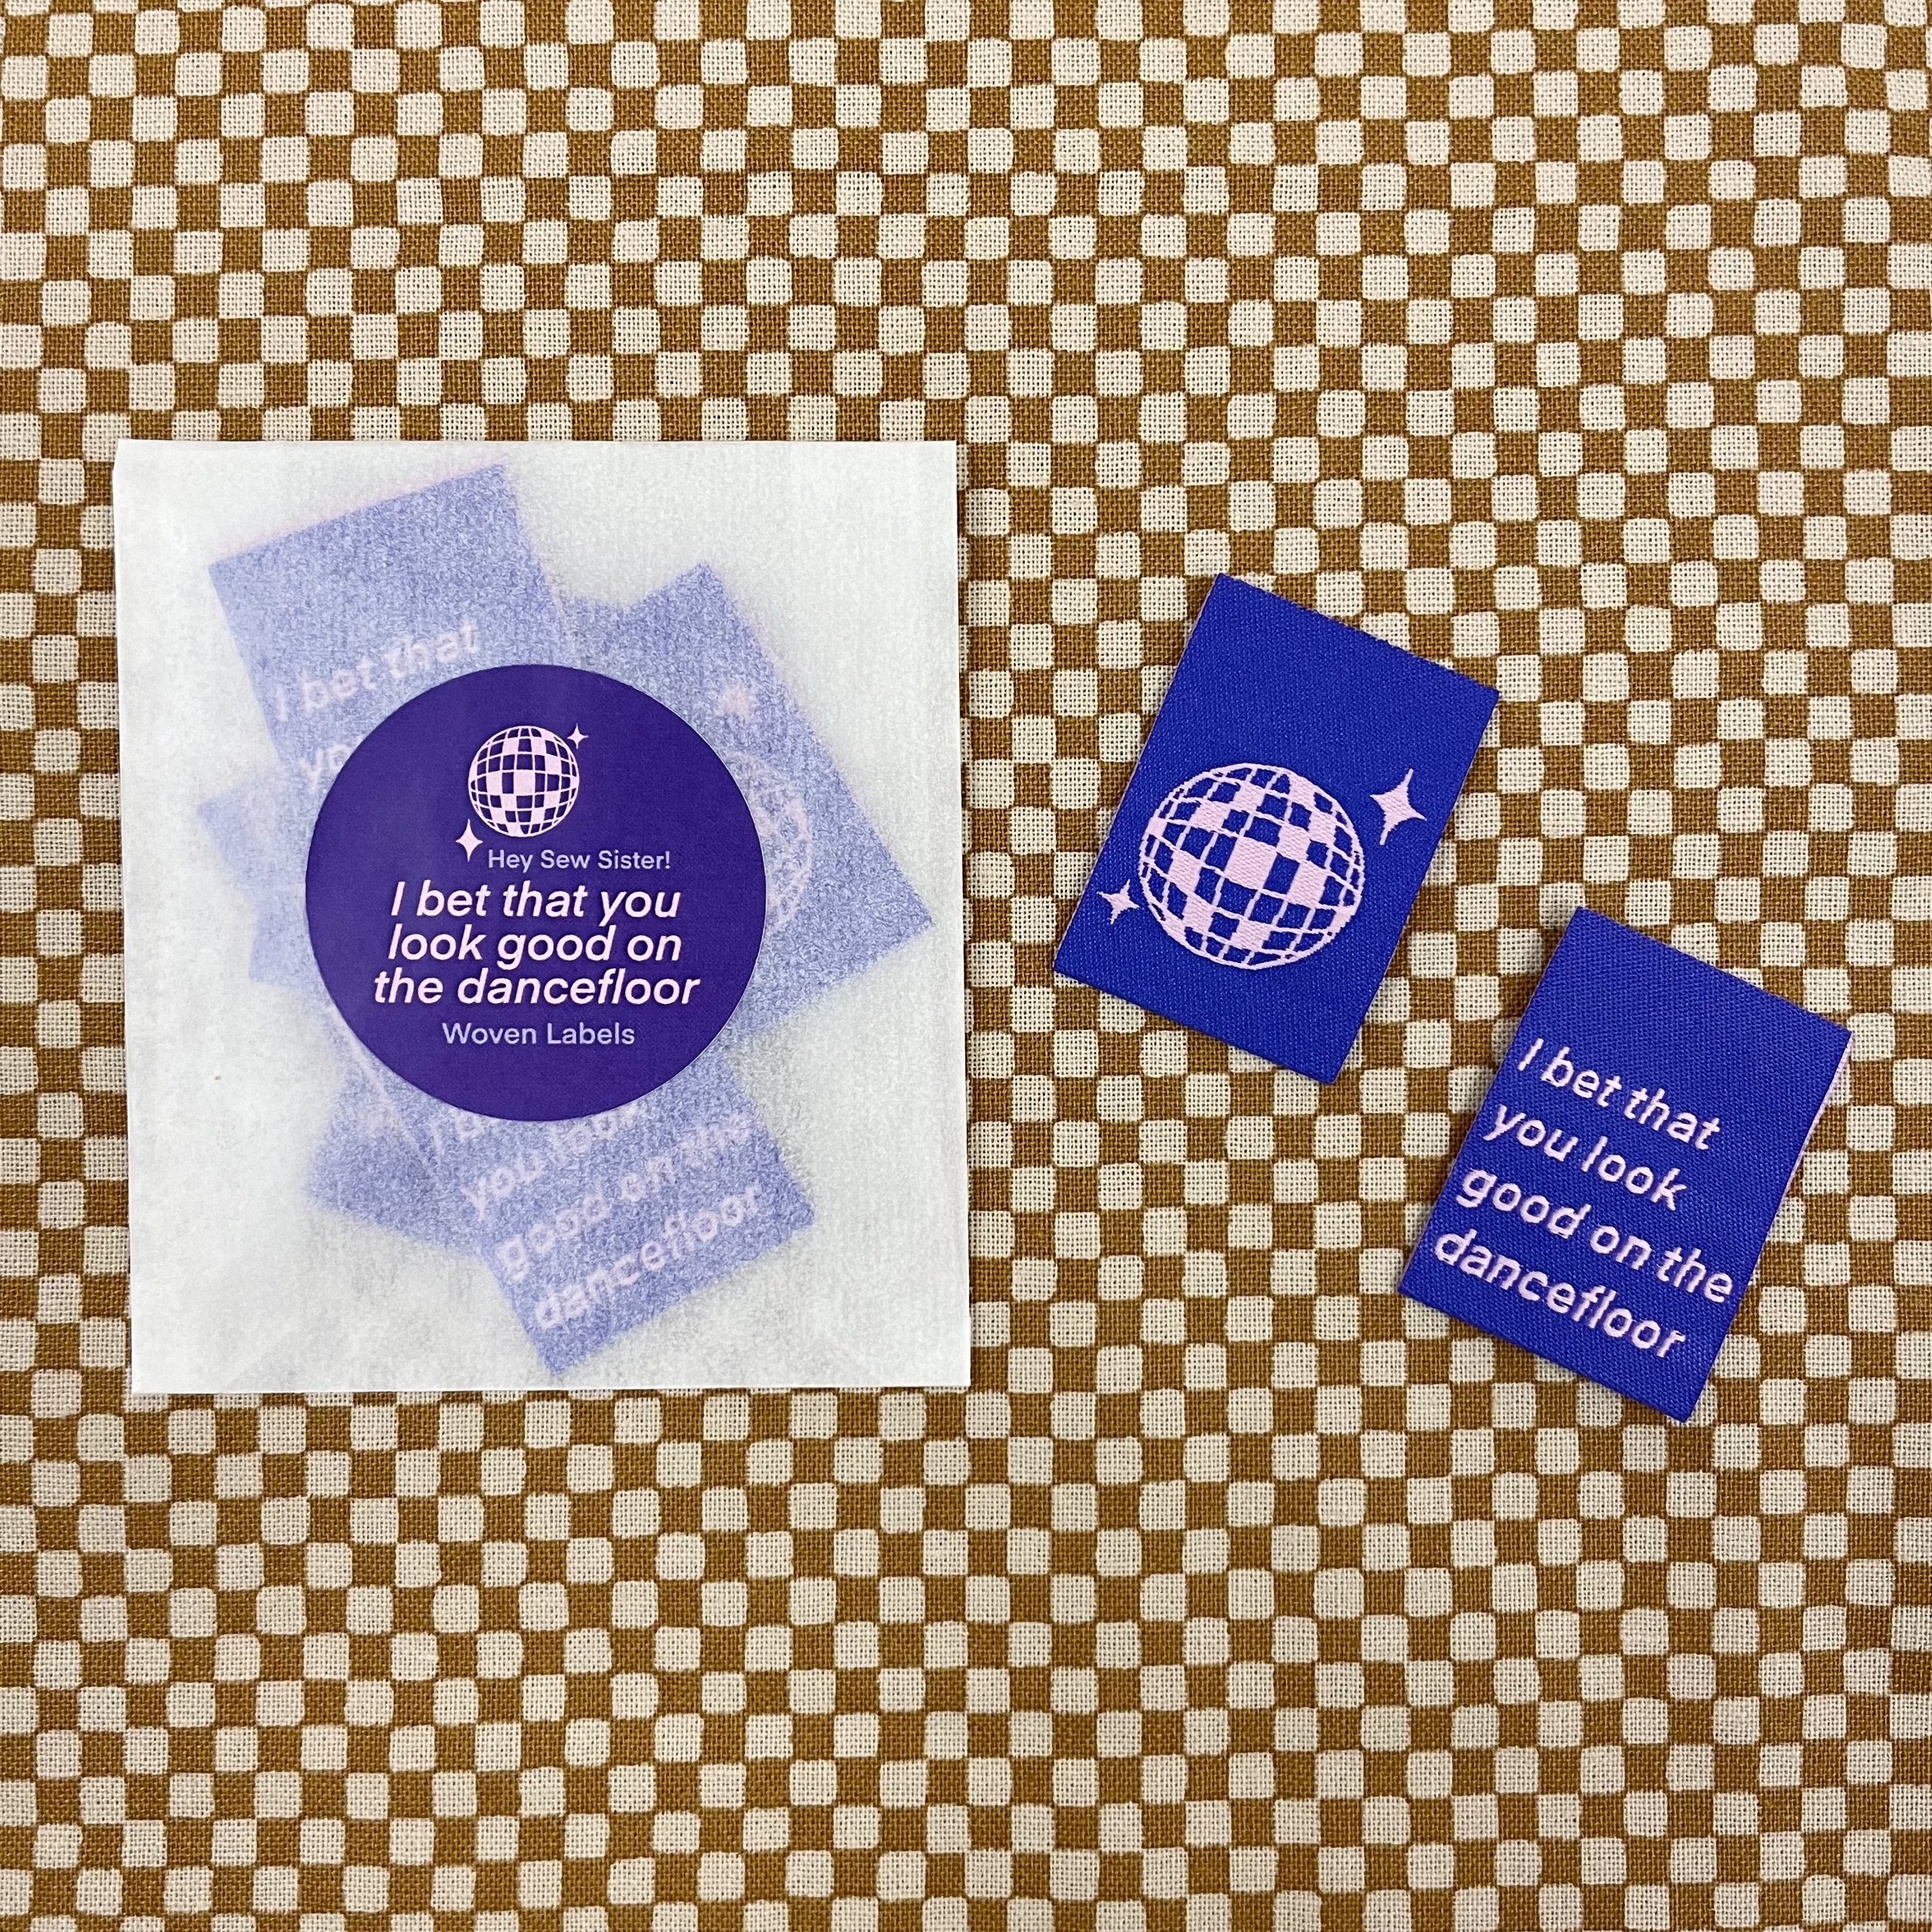
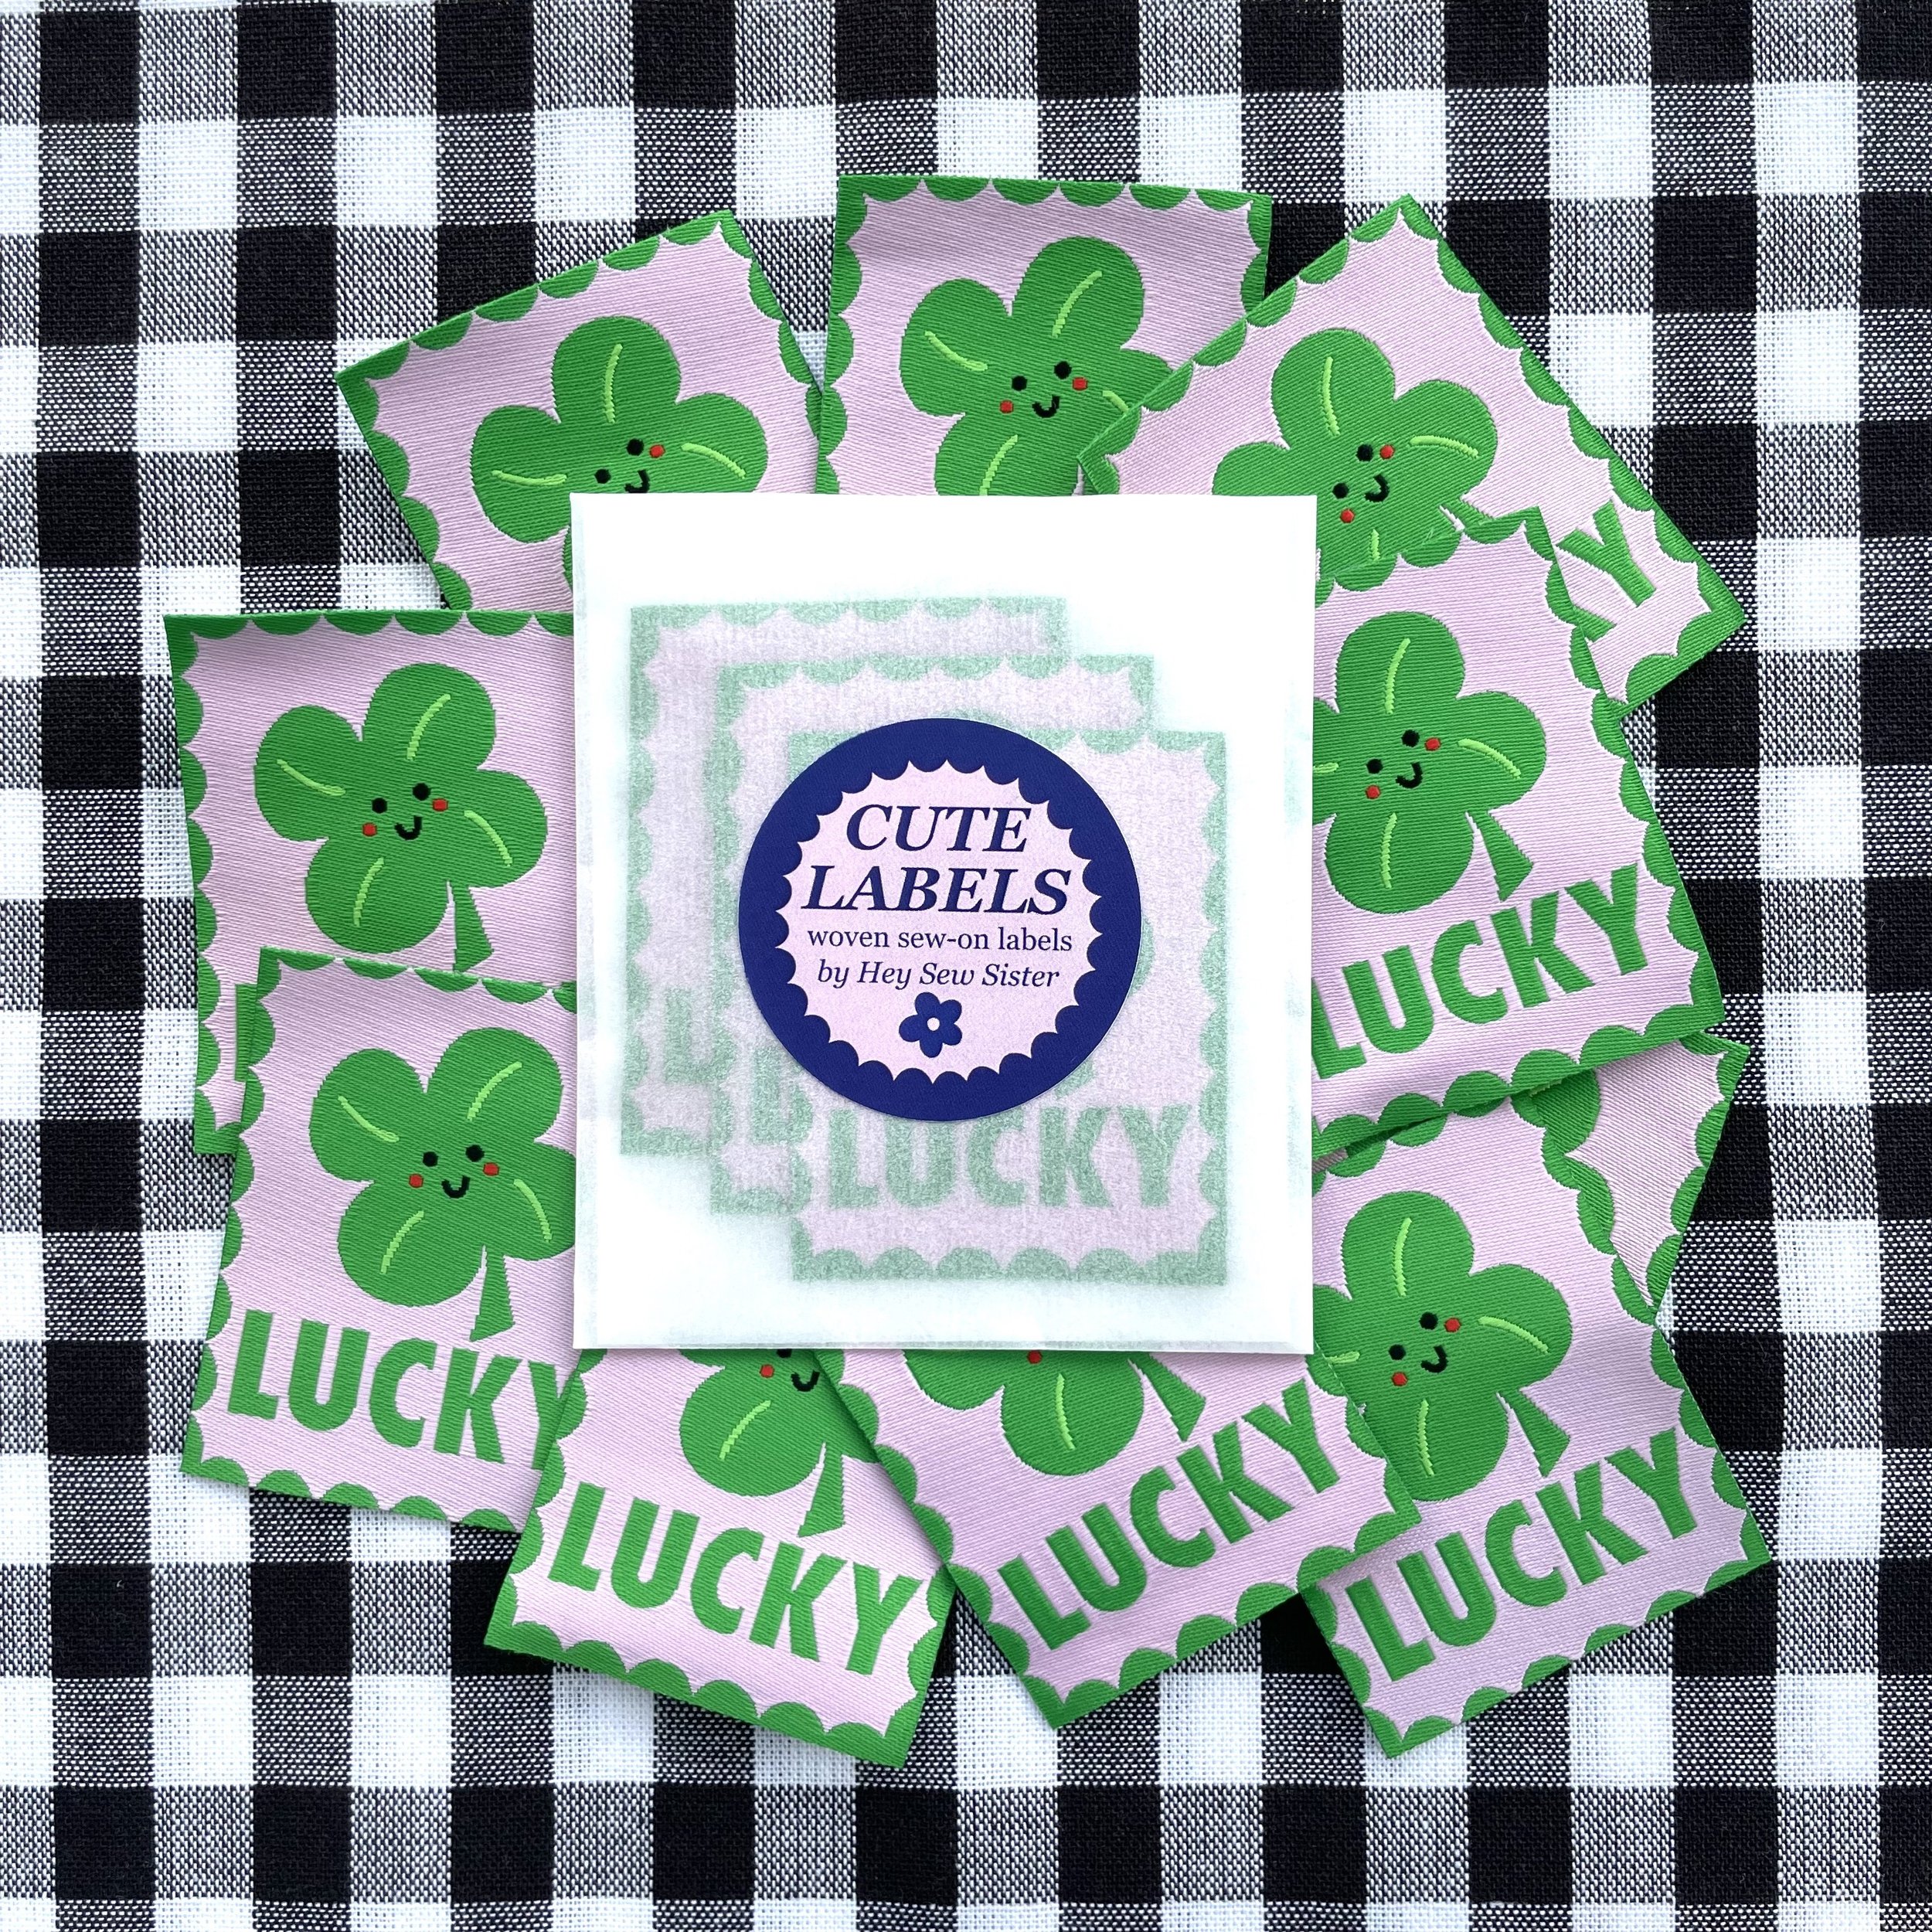
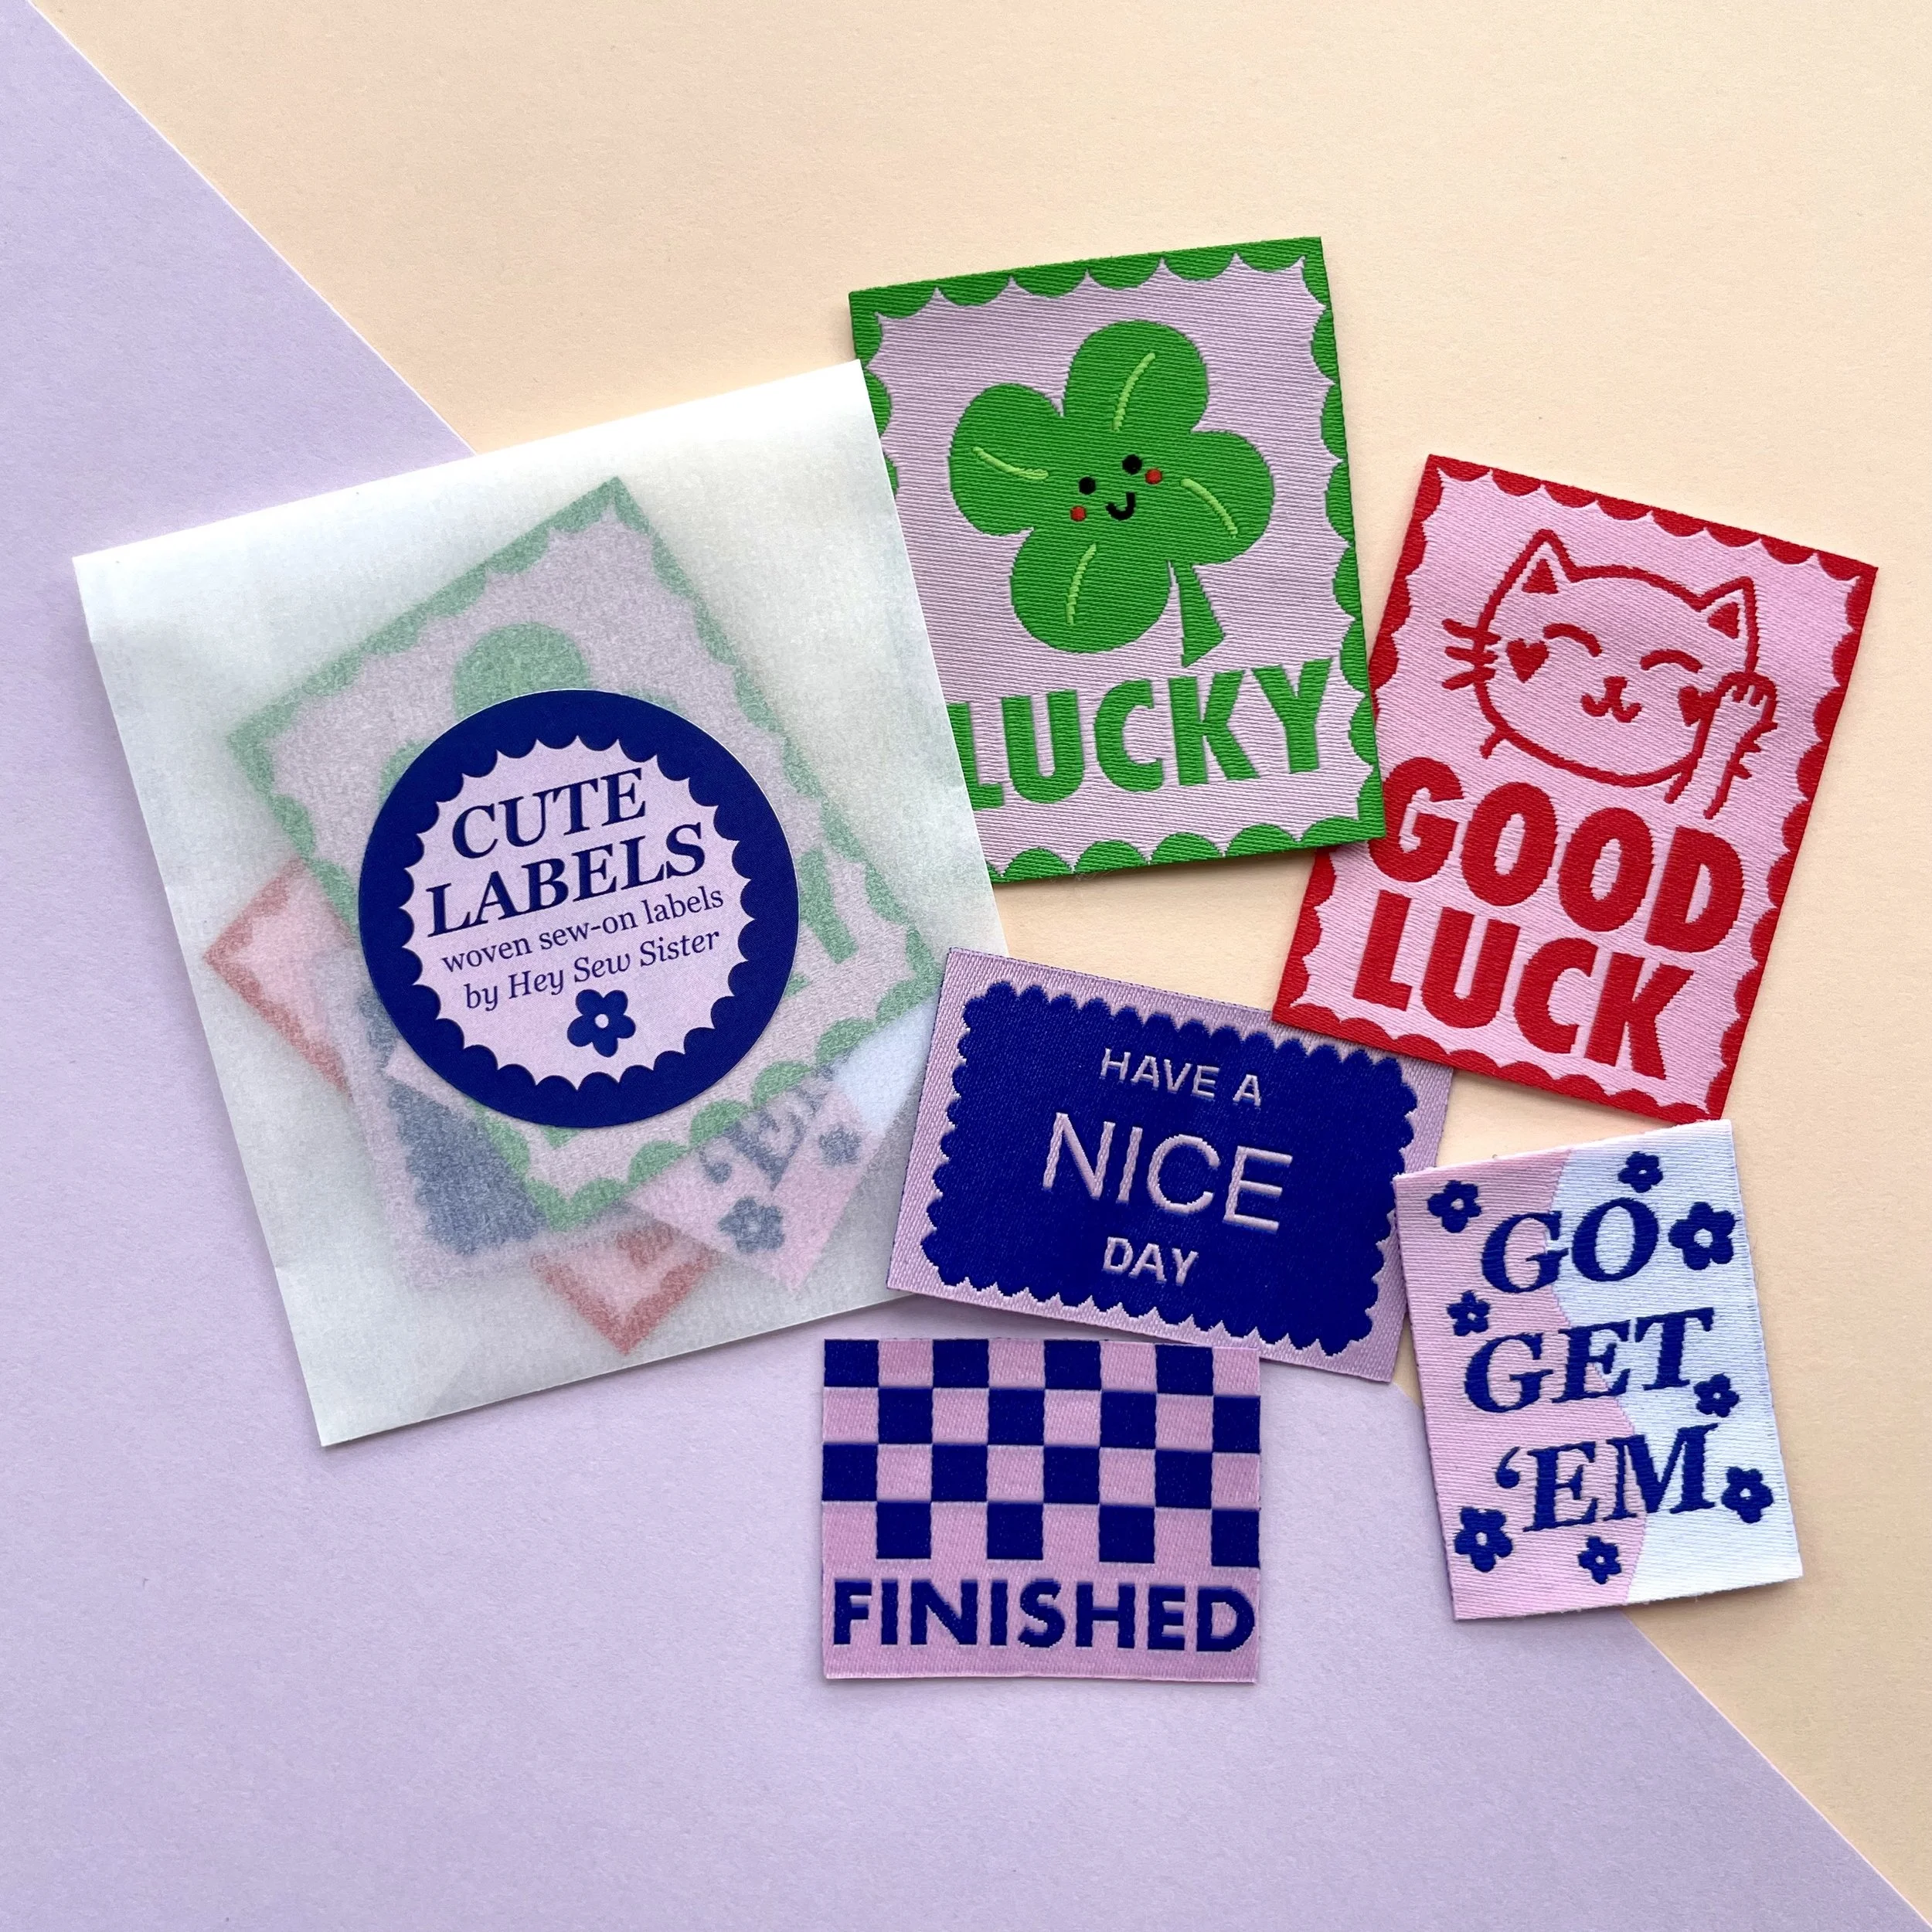
For our second collection of labels, I wanted to create something big, cute and colourful. All five of the labels are flat, sew-on labels and are larger in size than the average sewing label. The idea is that they can be sewn onto the outside of projects (as well as on the inside) so that they can be seen and enjoyed more! You could sew them onto a sweatshirt (like I have), T-shirt, shirt, shackets and jackets, jeans pocket, bags, bucket hats, etc! We have a selection of colourful french terry, sweatshirting and ribbing which would be perfect for sewing a sweatshirt out of before decorating with labels!
Available in packs of 5 (one of each design) and packs of 10 (two of each design). Save £2 when buying a 10 pack rather than 2 x 5 label packs.
Each pack of labels comes with a sheet of iron-on adhesive to help with placement and sewing.
Label packet is 100% paper.
If you are ordering labels only, postage is 70p for Royal Mail 2nd Class and £1.00 for 1st Class.
Fabric used in sample can be found here and the ribbing can be found here.
Label Dimensions:
Good Luck and Lucky: 40mm x 50mm.
Go Get ‘Em: 30mm x 40mm
Have a NICE day: 45mm x 30mm
Finished: 39mm x 30mm
Iron-on Adhesive:
Each pack of labels comes with a sheet of iron on adhesive to help with placement and sewing down. Please note that stitching the label into place is a must and the iron-on adhesive is an aid rather than an alternative.
Instructions on how to apply and use iron-on adhesive:
Cut the iron on adhesive to shape of label.
Turn the iron on to a medium heat with steam.
Place the label face down on the ironing board and then place the piece of iron on adhesive with adhesive side down on top of the label.
Press with the iron for a few seconds then allow to cool.
You should now be able to peel the paper backing from the iron on adhesive.
Decide where you would like to position the label and then place adhesive side down/label face up with an ironing cloth or scrap piece of cotton fabric over the label.
Press with the iron for about 10-15 seconds. Do not touch the fabric or label and let it completely cool down as the bonding process happens with the cooling down of the fabric and adhesive.
Once cool, check the label is bonded to the fabric before moving the fabric.
Stitch the label onto the fabric. You could use a machine stitch and matching thread to stitch all the way around the edge of the label (this is what I did with the Good Luck label on my stripy sweatshirt). If you’d prefer not to use the adhesive you could simply sew a few stitches into each corner of the label or perhaps just sew along the top edge (this is what I did with the Finished label in the neckband of the sweatshirt).

