
Pinch Patterns - Ada - Pattern Review
by Georgie (@heysewgeorgie)
Pinch Patterns are a new pattern maker on the indie dressmaking pattern scene. Run by Josie and Susan from Brighton, their designs are fun, young and on trend and definitely have their own unique style which distinguish them from other indie patterns out there. I’ve previously made one of their patterns, the Ollie Jacket, and you can see some photos and info on my Instagram account here. Today I am here to tell you about my experience sewing the Ada top pattern. I have had my eye on this pattern for a little while as it’s a little different from anything I’ve seen before and I thought why not make and share my Ada top to coincide with us stocking the Ada along with two other Pinch patterns, the Boni Top and Dress and Billie Top, at Hey Sew Sister.
Firstly, I really enjoy the printed pattern format of Pinch patterns. Included in the A4 envelope is the A0 printed pattern on tissue paper and the instruction booklet is printed newspaper style with lots of coloured photos which makes it fun and unique.

The instruction style is perhaps a bit more casual than lots of other dressmaking patterns out there and includes words of encouragement along the way which is nice. The patterns are targeted towards beginners and whilst I do think a beginner could manage, I think a sewist who has some experience would find the process easier and also perhaps use their own initiative to take a different approach on some of the instructions. For example, I found that there was little mention of finishing seams but I still overlocked all of my exposed seams after sewing. The only point where I found seam finishing instructed was to zig-zag stitch around the facing AFTER it had been attached to the bodice. I decided to overlock around the edge of the facing BEFORE attaching the facing to the bodice as I thought this would be less fiddly.
If I am correct in my assessment, I think there was a small instruction missing which is to sew the two back facing pieces together as part of the process of piecing the facing together before it is attached to the bodice but I obviously have enough experience to work this missing step out.
Another minor issue, and I am not sure if this was an error by me or a slight error with the pattern, is that the side panel pieces seemed longer than the centre pieces by 1-2cm so that they don’t match up exactly:
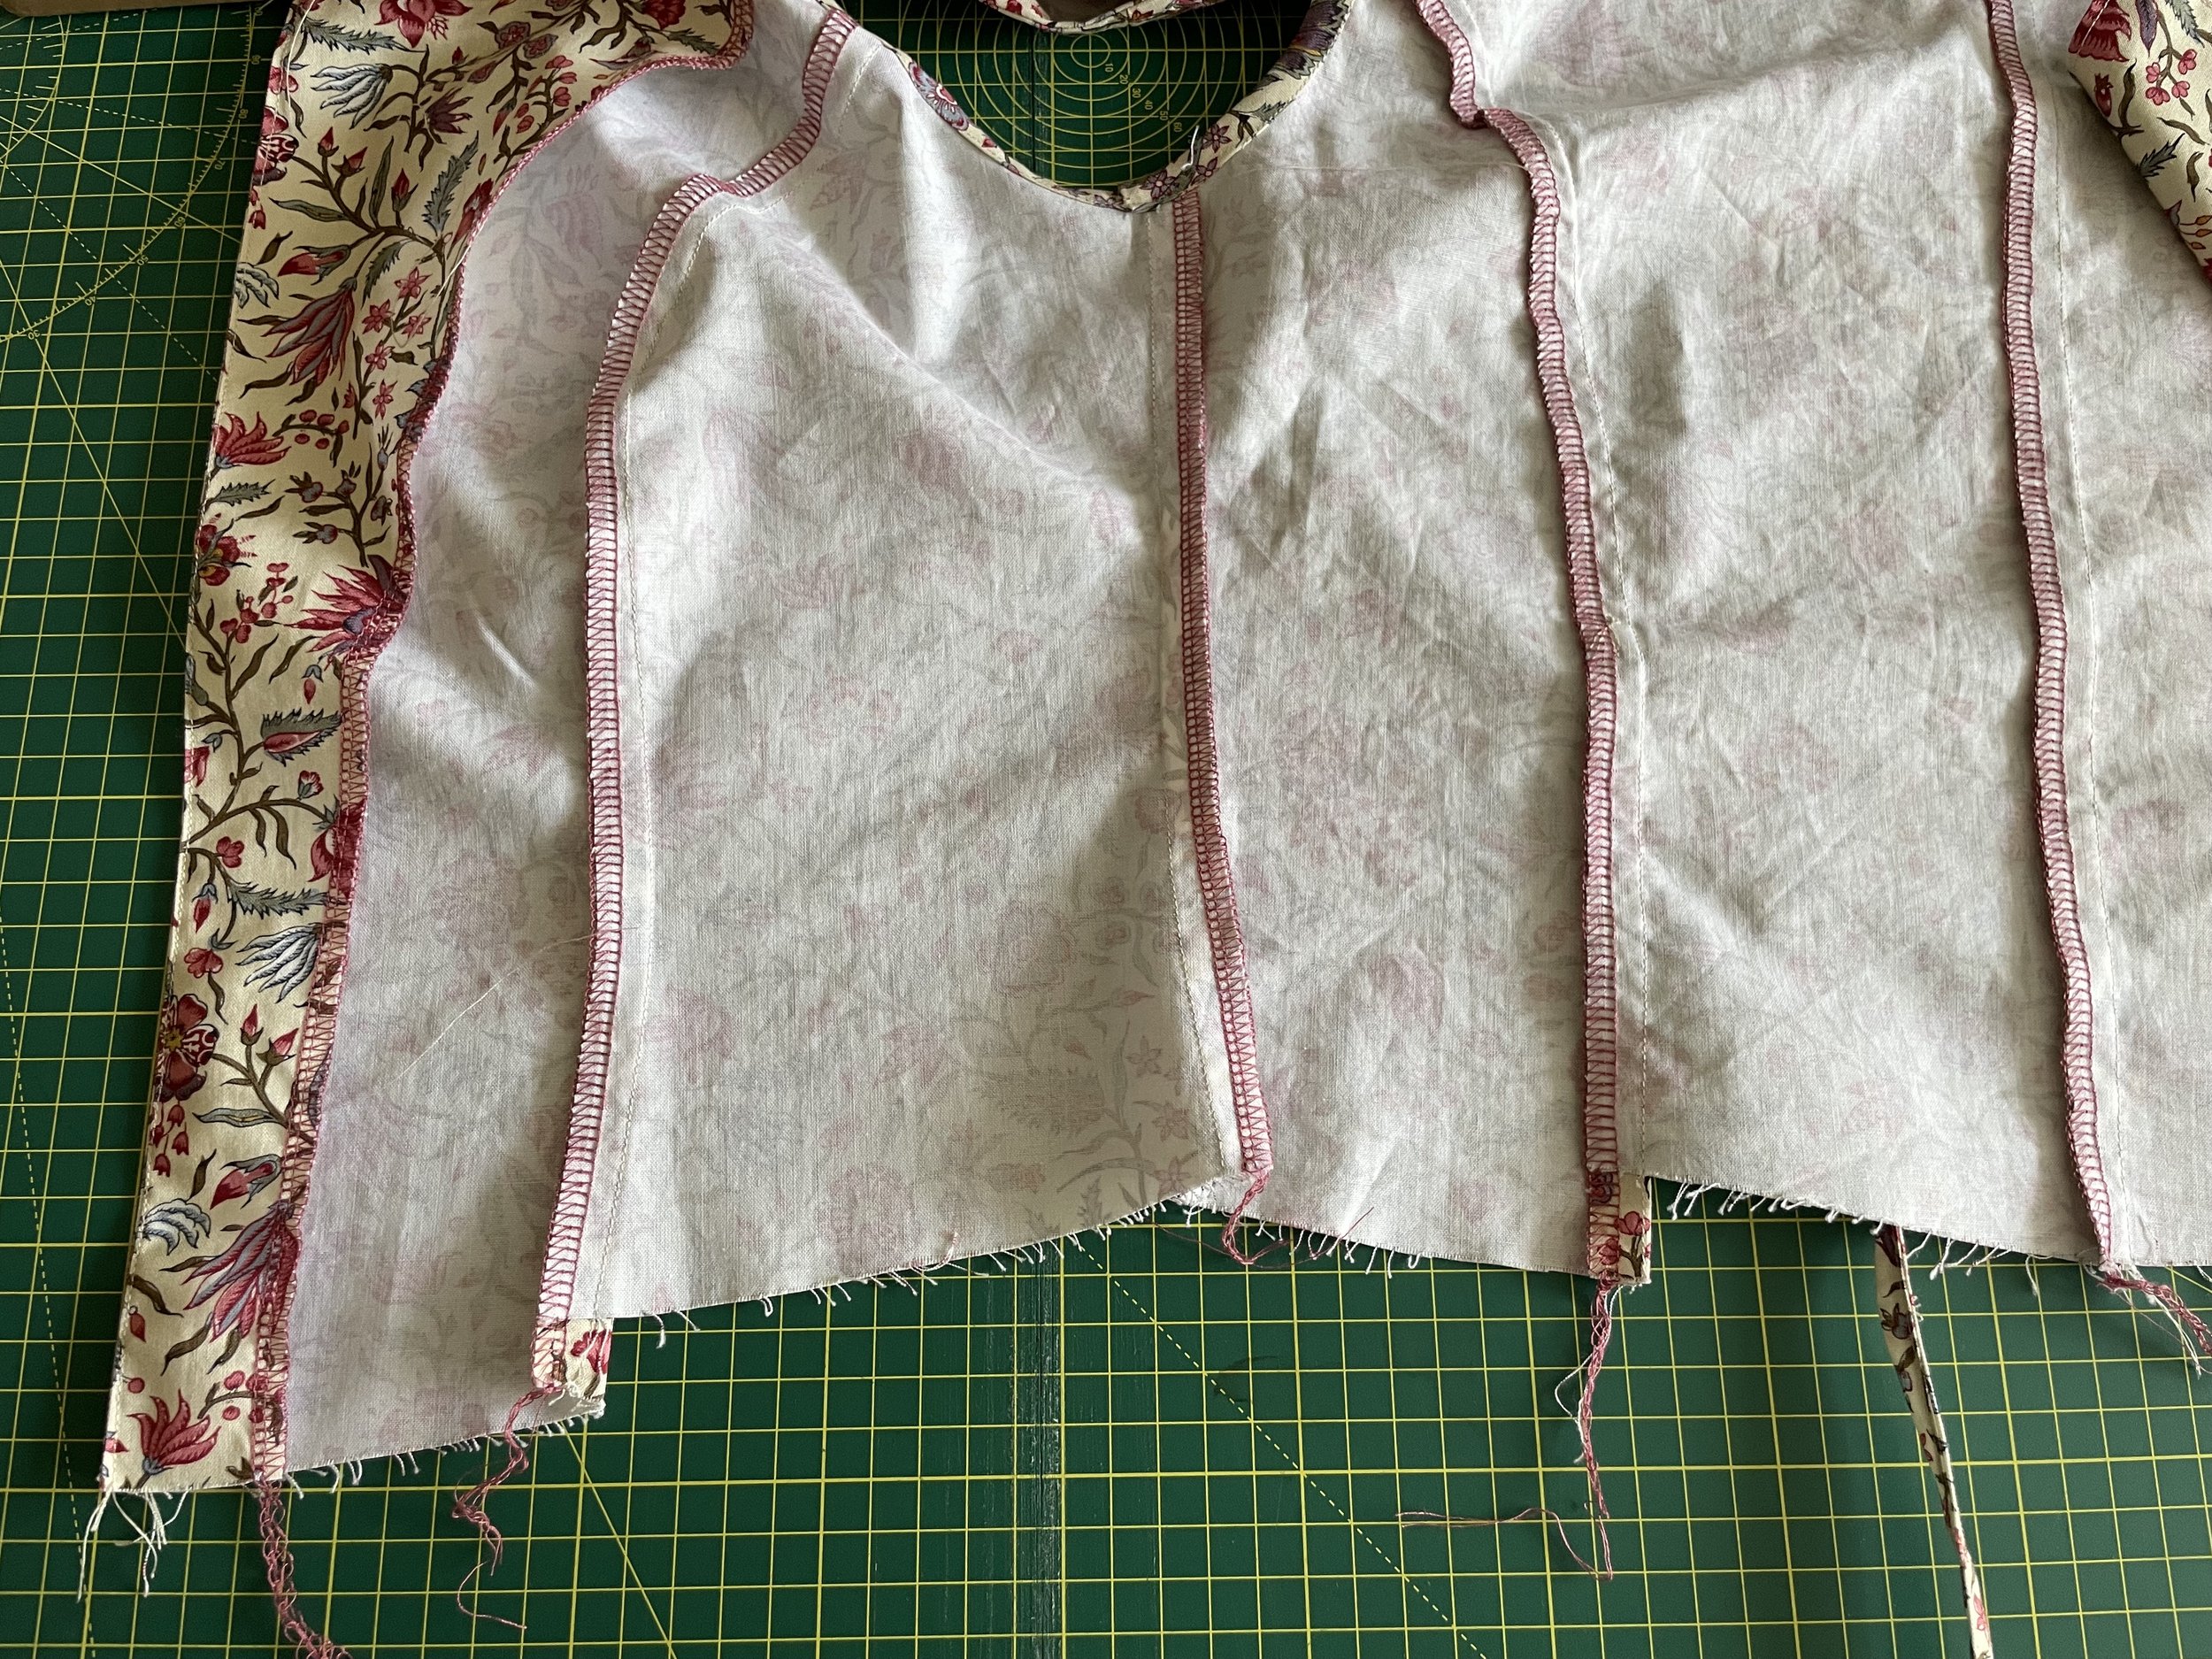
Once I came to hemming the top I did manage to straighten it out without losing too much length so it wasn’t a big deal. The hem points down a little at the centre front and I really like this shape.
The armholes are bias bound and whilst we are told bias binding is required, there is no guidance on size or the option of making our own binding. I ended up making my own bias binding as I didn’t have any suitable in my stash. I used the scraps left after cutting out the pattern pieces and cut 2cm wide strips which I sewed together into one length before ironing in the long edge on each side by 5mm. This worked great for me.
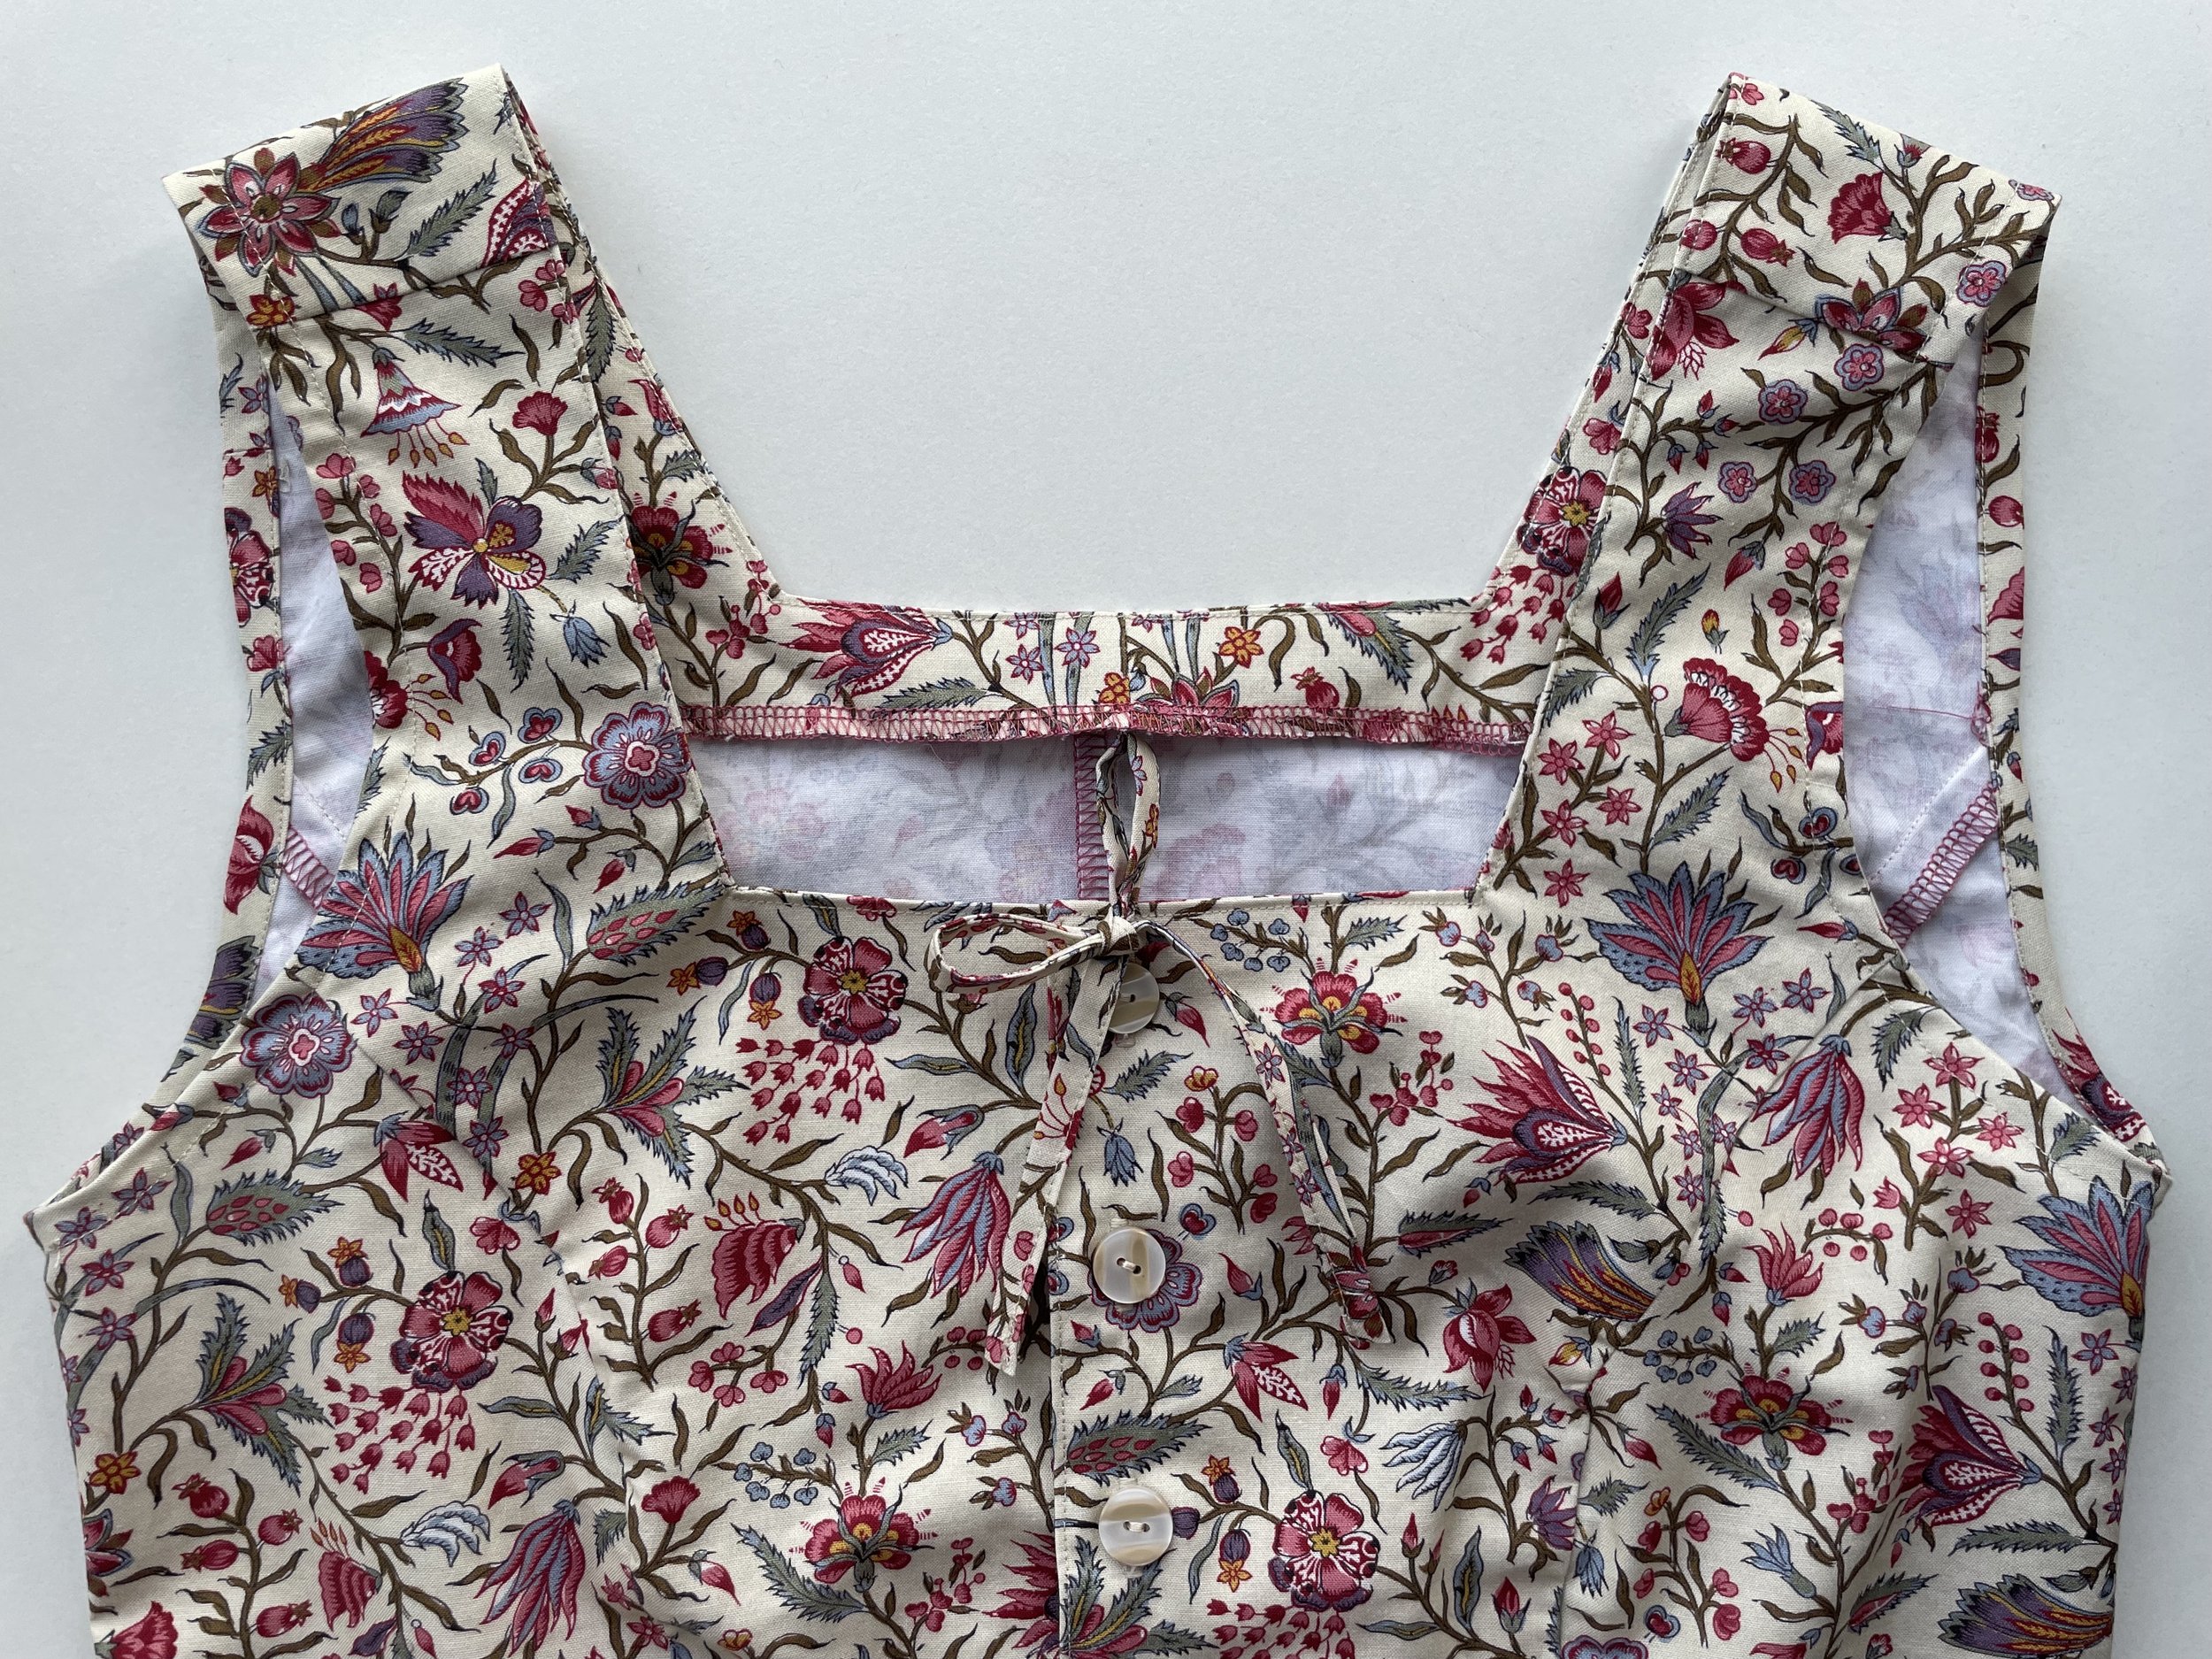
There is a nice and simple tie back detailing which is pretty but also functional if you want to pull in the top at your waist a little:

The pattern instructs that the top is fastened with poppers with faux buttons sewn on top. Although I have poppers in my stash, I decided to sew buttons and buttonholes in order to exclude the use of poppers/remove unnecessary use of materials. I sewed 6 buttonholes and used 13cm buttons from my stash. I do think the popper and buttons option would be great for someone who doesn’t have a buttonhole function or good buttonhole function on their machine.
Overall, I absolutely love this pattern and the way it looks. The size I chose fits great and I love wearing it layered over a shirt or blouse. I also look forward to wearing it on it’s own in warm weather (hello Mexico in November!) It was a relatively quick and easy sew and most of all I love how its a bit different to what’s available on the market.

As the construction features princess seams, I can see that it might be a bit more difficult to fit if a straight size doesn’t work for you. I also have a small bust and can imagine that with larger busts you might require to size up/have more difficulty making this pattern work.
With the size options covering two sizes: S (6-8), M (10-12), etc, and me fitting an 8-10, I followed the instruction to cut between the two size lines so cut between S and M. I think it fits me perfectly. The size range is currently limited at 6-20 though Pinch are currently working to expand this.
With regard to fabric requirement, we are advised that 150cm of 110cm wide fabric is required. I used narrow width fabric but found that I only needed 100cm of fabric so take note on this fabric saving if you are sized S-M.
The fabric I used is available here and you can find the Ada pattern here.
I hope you like me Ada! Let me know what you think :)
Georgie x