Children’s Sweater with Simple Appliqué
By Georgie
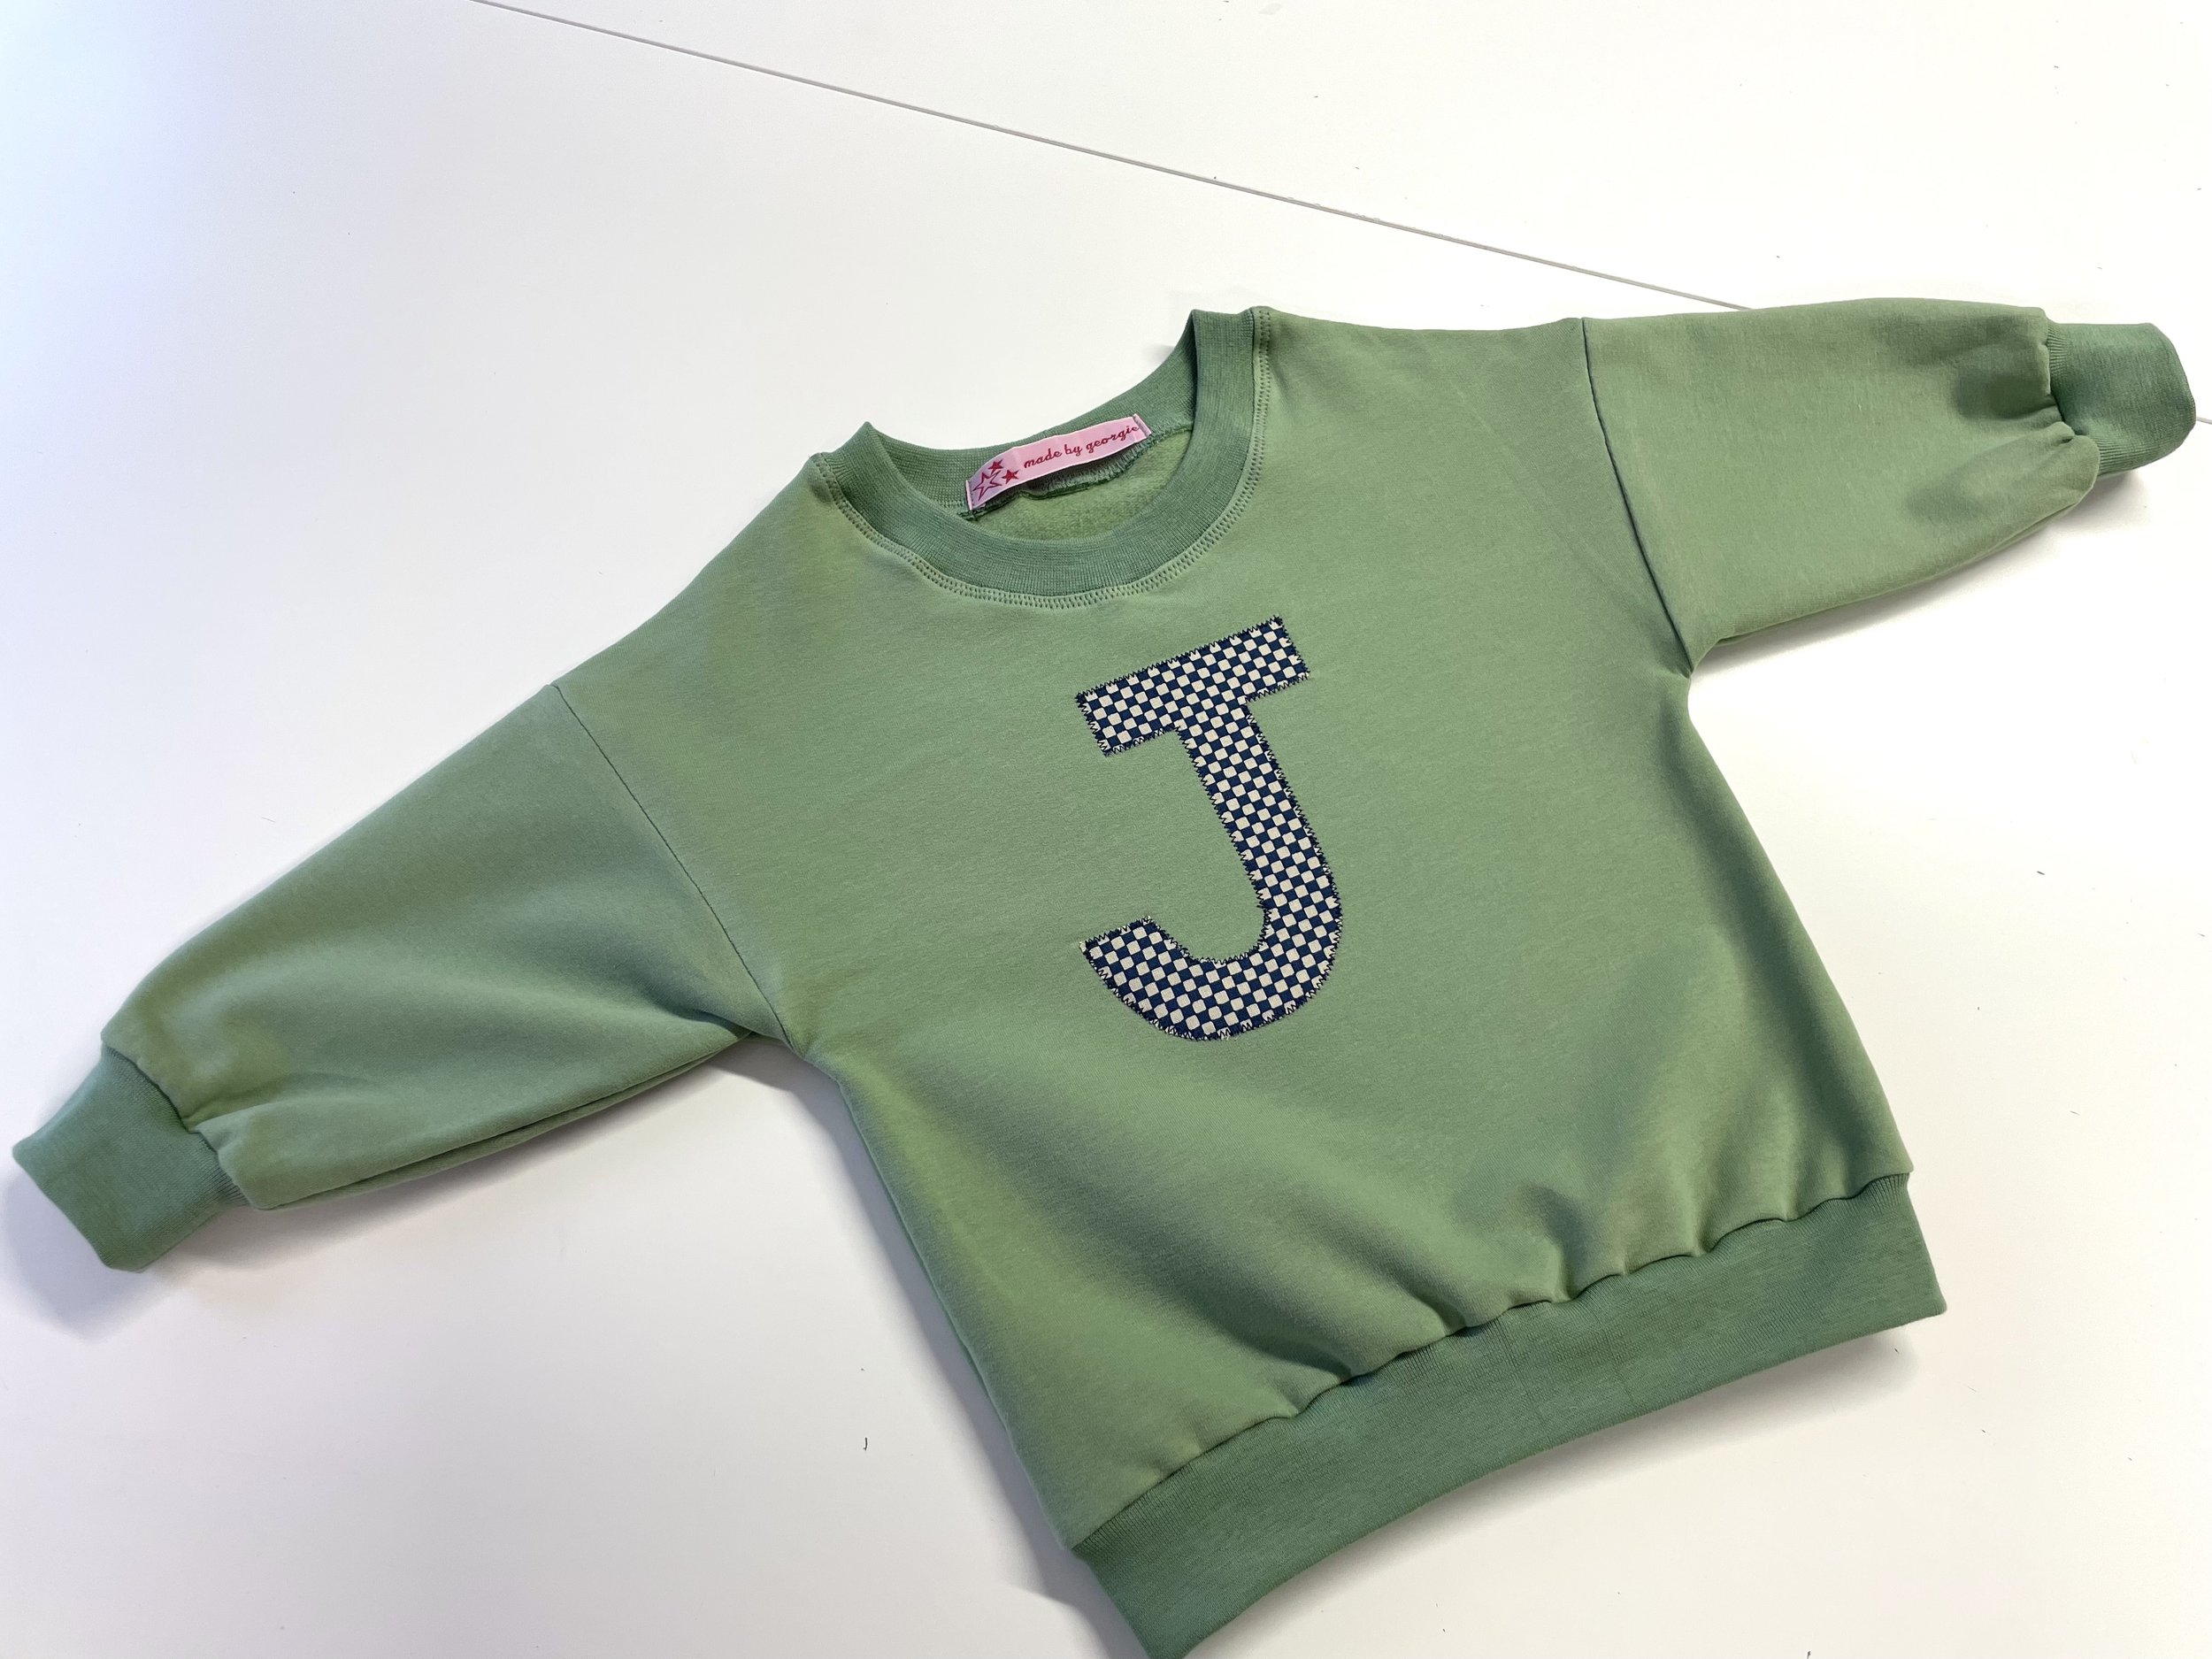
I recently shared on our Instagram Stories that I was making a little appliquéd sweatshirt for my nephew’s 1st birthday and had some requests for more details. I don’t have children myself but can imagine it gets difficult dressing them everyday so wanted to make something simple and versatile and thought a personalised initial sweatshirt would be very sweet. I decided to make it in a few sizes larger so that it will fit him for the maximum amount of time and won’t it be so cute if he has little rolled up sleeves? I used some lovely organic cotton sweatshirting fabric and ribbing along with a small piece of Sevenberry woven checkerboard fabric for the appliqué. This project is a great way to use up some of those smaller scraps you have lying around. Of course this is a project suitable for all ages and you can come up with much fancier appliqué designs but this is perfect little project for beginners and with Christmas gift ideas on the brain.

Here is what I used:
Baby and Toddler Sweatshirt pattern by EasilyMadeDesign via Etsy.
GOTS Organic Cotton Sweatshirting in Green for the main sweatshirt fabric.
GOTS Organic Cotton Tubular Ribbing in Green for the neckband, cuffs and waistband.
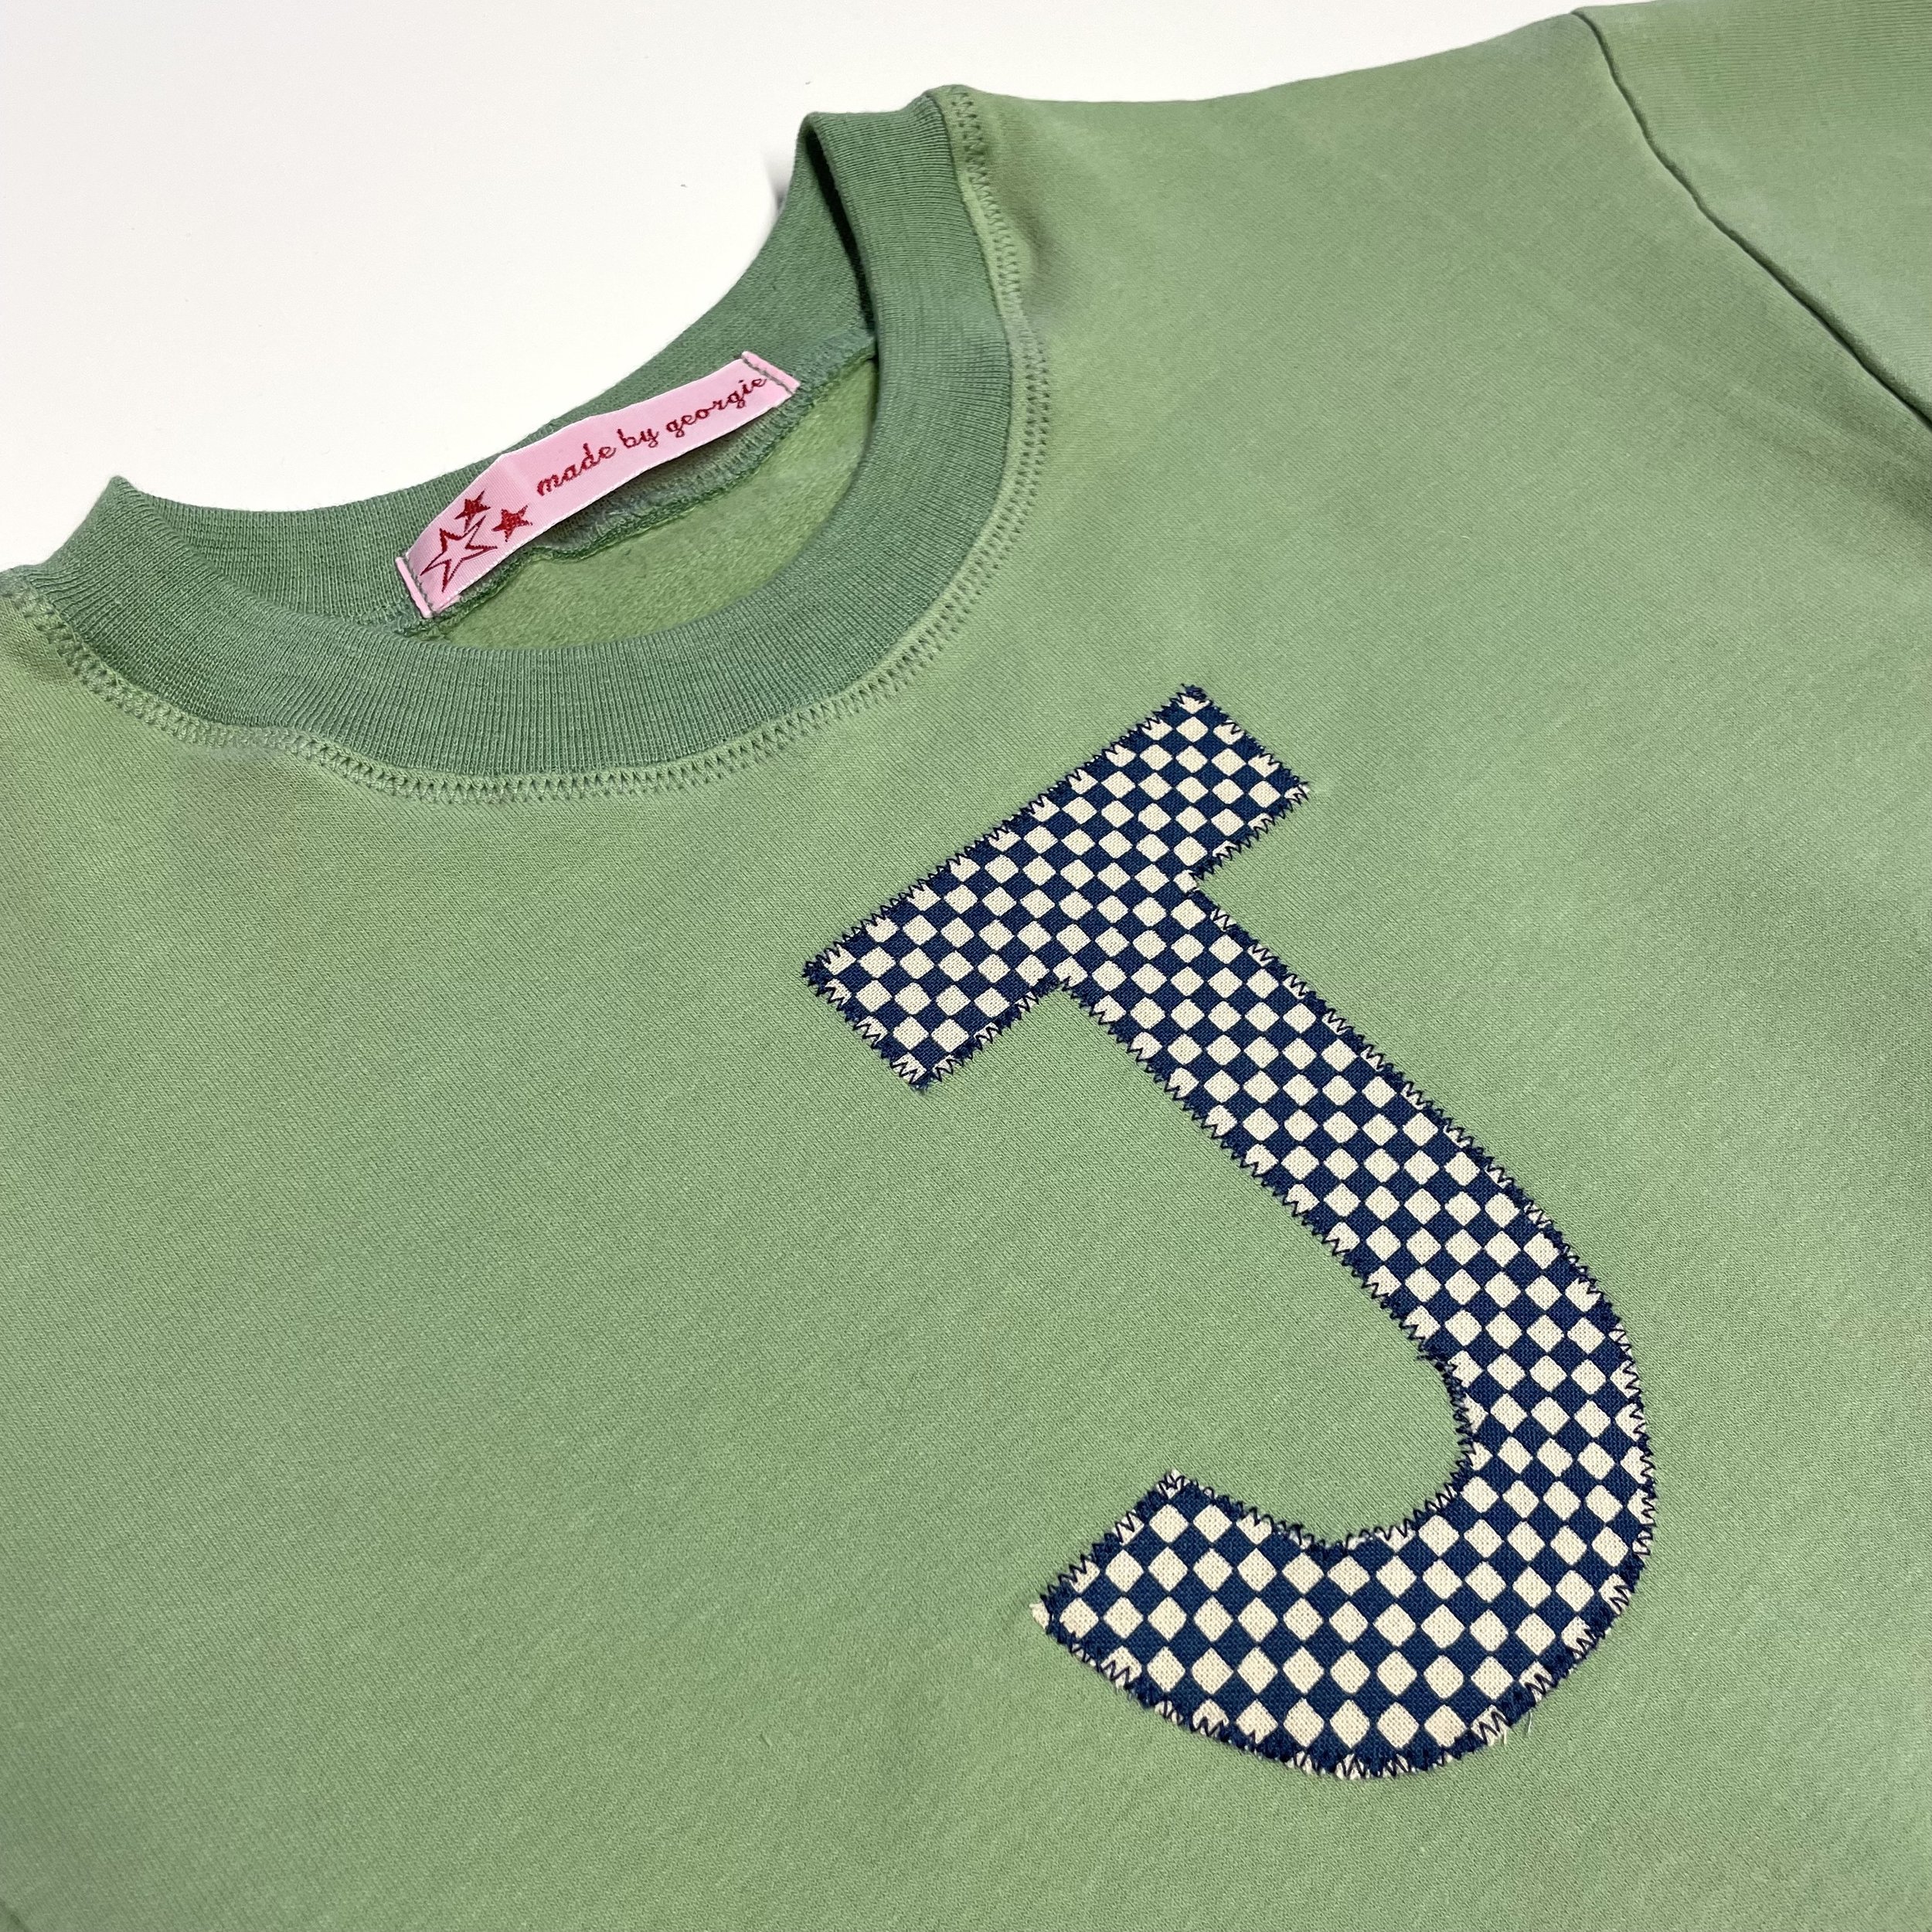
Sevenberry Cotton in Blue Checkerboard for the letter appliqué.
Matching threads
Instructions:
You will need to cut out your main and ribbing fabric as per the pattern instructions and then apply the appliqué BEFORE constructing the garment as doing the appliqué in the flat will be a lot easier than once the garment is 3D.
If you want to do a letter/initials/words, I think that the easiest thing to do (unless you have a machine such as a Cricut) is to either type up the letter/initial/words on your computer, enlarge to the right size and then print off to use as your template. I actually Google image searched the letter J so that I could find one in a font I liked and printed that off. Cut your template out.
Next, you will use your template to cut out 1 x piece in your woven fabric and 1 x piece in your iron-on adhesive. Make sure you have your fabric and iron on adhesive the right way round - you will be applying the glue exposed side of the iron-on adhesive to the reverse/wrong side of your woven fabric appliqué.
Carefully lay your iron-on adhesive down with glue side up and place your woven fabric piece on top, making sure that it is neatly aligned. Cover with ironing cloth and press for a few seconds. Wait for a few seconds to cool before checking the iron-on adhesive has adhered to the fabric. Iron further if required.
Once you have the iron-on adhesive successfully attached to the woven fabric piece, carefully peel of the paper backing from the adhesive.
Place the appliqué in the desired place on the sweater front body piece.
Place your ironing cloth over the appliqué and press with iron for a few seconds at a time until the appliqué is securely adhered to the sweater front.
Before securing the appliqué to the main fabric with stitching, make sure to have a practice on some scrap fabric to make sure you have got your machine tension and stitch size correct. I would advise setting up a sample exactly like your main project, so a scrap of woven fabric bonded to the main fabric. This is important because we want to avoid our tension being too high and stretching out the appliqué. When it came to sewing with the zig-zag stitch, I used the centre of the presser foot as a guide to follow along the edge of the appliqué letter so that I was stitching equally over the woven fabric and the main fabric.
Once happy with your practice sample, go ahead and stitch your appliqué to the main fabric before completing the garment per the pattern instructions. You might wish to give the appliqué a press with the iron to neaten up.